
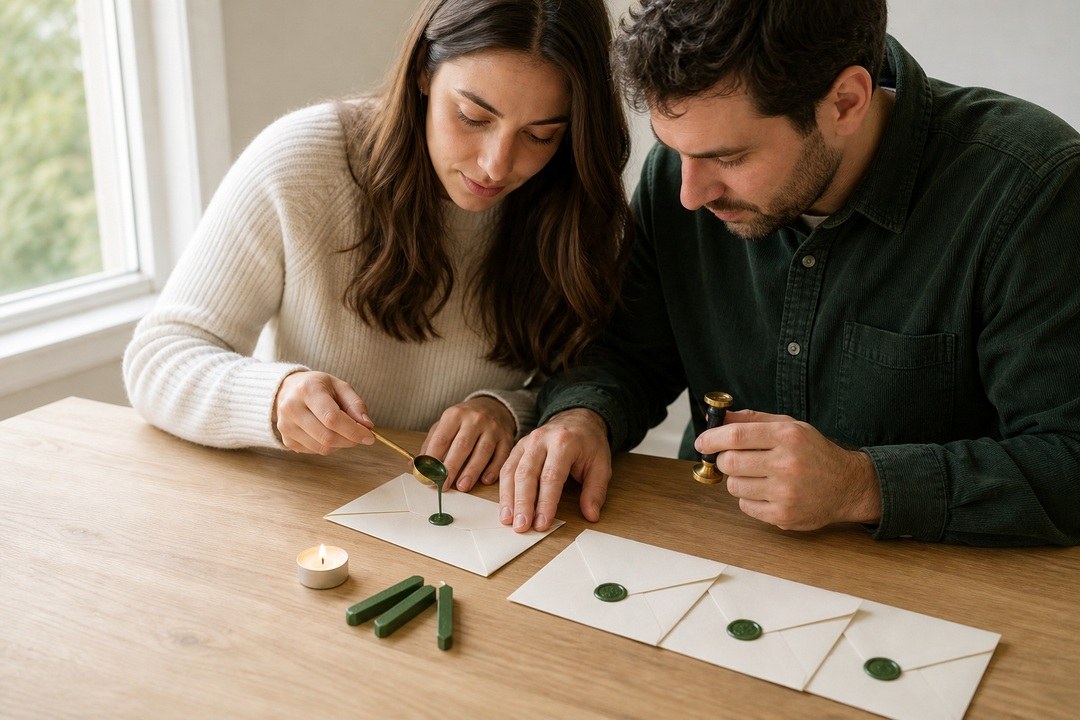
Couples who ask whether they should DIY their wedding stationery are usually asking two different questions at once: whether they can do it, and whether they should do it for every piece on their list. The answer to the first is almost always yes. The answer to the second depends entirely on which piece you are talking about.
A home printer handles flat designs on light cardstock reliably. It struggles with heavy cotton stock, full-bleed color to every edge, folded pieces that need scoring, and specialty finishes. Some stationery pieces make those printer limitations invisible. Others make them very visible.
This guide is a practical split: what to make yourself, what to buy, and why the distinction matters more than the blanket question of DIY or not.
Make vs. buy at a glance
| Piece | Make it | Buy it |
|---|---|---|
| Welcome sign and venue signage | Yes | Optional |
| Bar and cocktail signs | Yes | Optional |
| Favor tags and labels | Yes | Optional |
| Place cards | Yes | Optional |
| Table numbers | Yes | Optional |
| Ceremony programs (single flat sheet) | Yes | Optional |
| Thank-you cards | Yes | Optional |
| Main invitation card | No | Yes |
| RSVP card | No | Yes |
| Enclosure or details card | Borderline | Preferred |
| Seating chart (80+ guests) | No | Yes |
| Anything with foil, letterpress, or heavy cotton stock | No | Yes |
Heavy cotton stock, real foil and letterpress need a press. Everything else on your list is fair game for DIY.
What Your Home Printer Can Actually Handle
Most consumer inkjet and laser printers print well on paper up to about 80 to 90 lb cover, which is roughly 216 to 240 gsm. Some rear-feed models stretch to 100 lb cover, approximately 270 gsm. Beyond that, you risk paper jams, smearing, and feed errors that waste your materials.
Professional wedding invitations are typically printed on 110 to 130 lb cover stock, roughly 300 to 350 gsm. That gap is the source of most DIY disappointment: the invitation you designed on screen looks flat or lightweight when printed on the heaviest cardstock your home printer will accept.
Full-bleed designs, where color or pattern extends to every edge of the card, create a separate problem. Consumer printers leave small margins even when set to borderless mode. If your design relies on color running all the way to the edge, you will see a white sliver after trimming, or you will need to trim so precisely that 120 cards becomes an hour of tedious work with a paper trimmer.
Folded pieces add a third challenge: scoring. A gatefold invitation or a booklet-style ceremony program requires a bone folder and a clean scoring tool. Even with the right equipment, the fold quality on heavier cardstock is rarely as crisp as a professionally scored piece.
The takeaway: a home printer can produce something genuinely attractive if your design is flat, uses white space well, and does not depend on edge-to-edge color or heavy paper.

The Real Cost of Doing It Yourself
People underestimate DIY stationery costs in two ways: they price the materials they plan to use, and they forget to price the materials they will use while getting there.
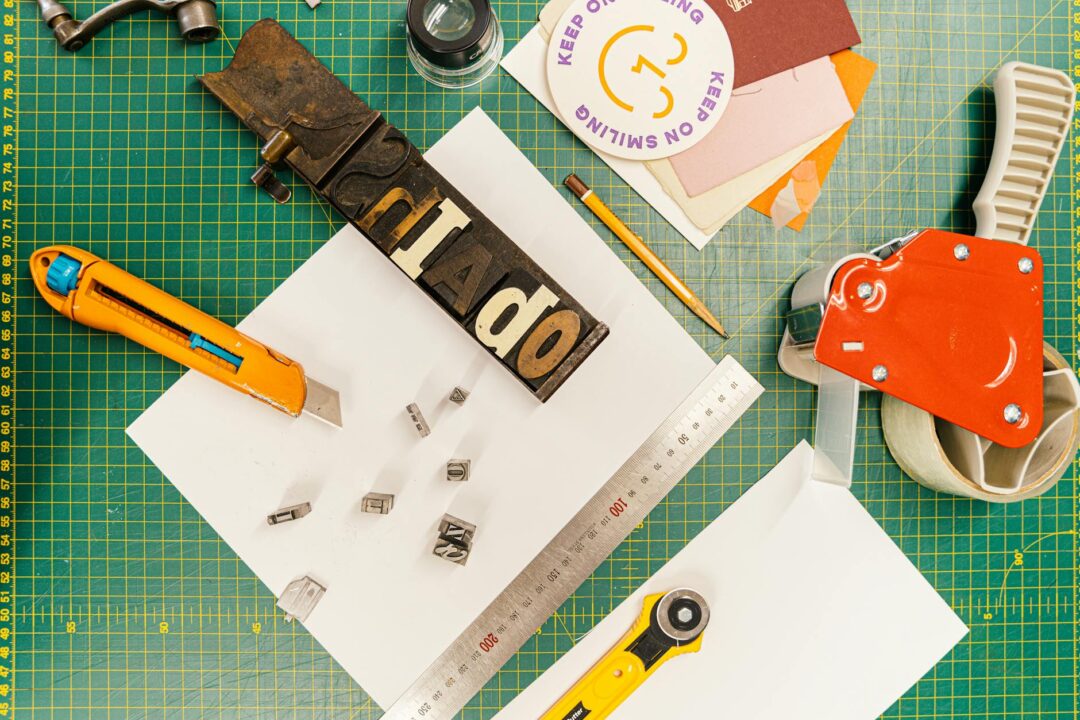
A full invitation suite for 100 guests involves test prints. You will print a version to check color and layout. You will print another after adjusting the font size. You will print a third to confirm the trim margins work. Paper and ink for those test sheets come out of your budget. So does the cardstock you trim slightly crooked on the first pass with the paper cutter.
Beyond materials, there is time. As a rule of thumb, plan for a full weekend or two to take a 100-guest suite covering invitations, RSVP cards, and a details card from design to sealed envelope. That time includes design iterations, troubleshooting printer settings, cutting, assembling, and addressing. If you discover a typo after cutting 120 cards, add another round of time and materials.
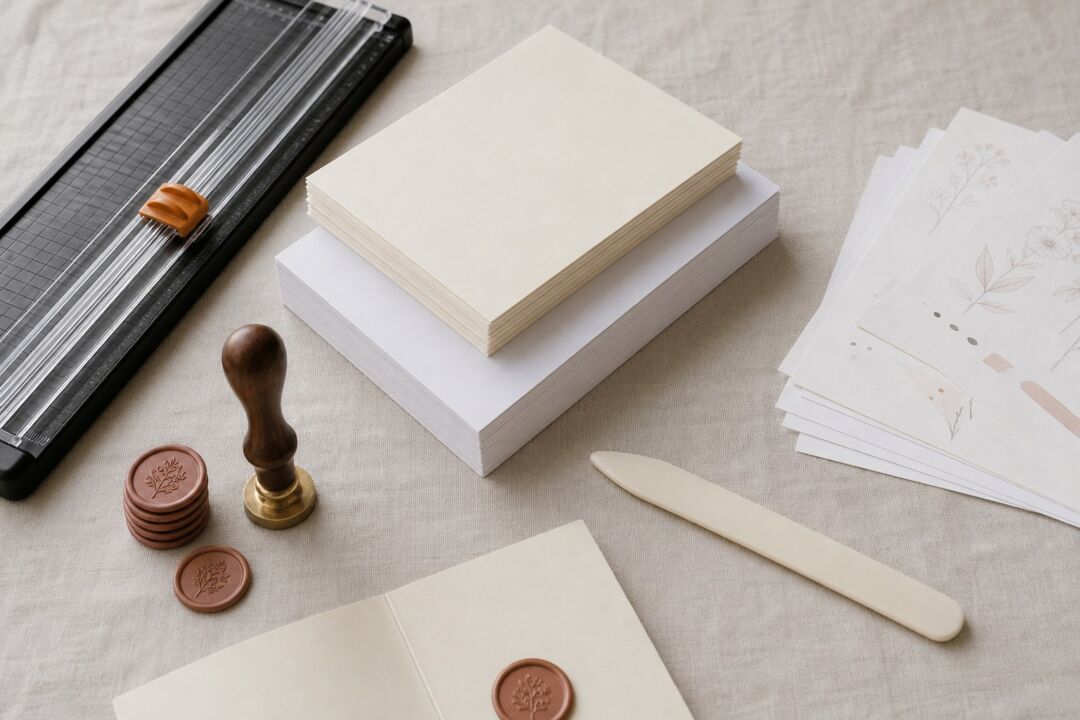
The supplies add up faster than people expect. A paper trimmer that cuts cleanly on cardstock costs more than a scissors-and-ruler setup. A bone folder is inexpensive but necessary for scored pieces. Ink cartridges drain faster when printing heavy coverage on cardstock than they do on plain paper. Wax seals, ribbon, and belly bands are priced per unit in small quantities and accumulate quickly.
None of this makes DIY the wrong choice. It makes a realistic budget, one that includes test prints and a cushion for mistakes, the correct starting point rather than a pleasant surprise at the end.
The Pieces That Reward DIY
Some stationery improves with a handmade quality. Imperfection reads as intention when the piece is something guests will glance at once or twice rather than keep.
Signage is the strongest DIY candidate on any list. A welcome sign, a bar sign, a hashtag card, or a “cards and gifts” marker can be designed quickly and printed on a single large sheet. Signs are viewed briefly and from a few feet away. The margin for error is wide, and a handmade sign often feels warmer than a formally printed one in this format.
Favor tags and labels are nearly ideal for home production. The print area is small, the format is forgiving, and a slight variation in cut size matters far less on a tag tied to a favor jar than it does on a formal invitation.
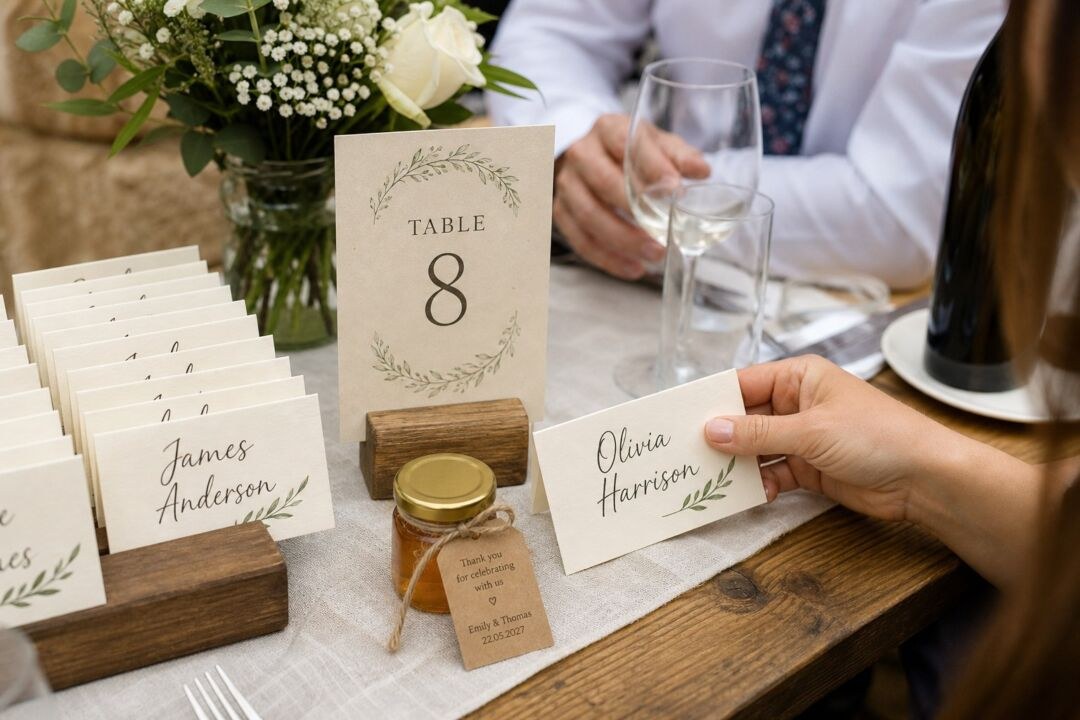
Place cards and table numbers are repetitive by design. Once you have one version right, you duplicate it with a name or a number change. The cardstock is lighter than an invitation suite, the design is simpler, and the stakes are low. A guest whose place card is a touch off-center will not notice.
Ceremony programs can go either way. A single folded sheet with the order of service is manageable on most home printers if the design avoids full bleed. A booklet-style program with multiple pages and a bound or stapled spine adds enough complexity that a print shop handles it more reliably.
Thank-you cards are a strong option for home production, particularly if you design them before the wedding and produce them in small batches. The timeline pressure is lower than for invitation suites, and you can adjust the design between batches if something does not look right.
A welcome sign is the piece most couples try once at home and then order properly.
The Pieces Worth Buying
The main invitation card, the RSVP card, and any enclosure cards are the pieces guests inspect closely and, in some cases, keep. They handle them at home, notice the paper weight, check the printing quality, and notice if the edges are rough.
These are also the pieces that benefit most from production methods requiring specialized equipment. Letterpress presses the design into the paper, leaving a tactile impression. Foil stamping bonds a metallic film to the surface under heat and pressure. Both processes use paper stock so heavy that most consumer printers will refuse to feed it, and neither finish has a reliable DIY equivalent.
The invitation suite is also where professional printing earns back its cost in avoided errors. A typo discovered after you have cut and assembled 120 invitation cards means reprinting the entire batch under deadline pressure. A typo caught before you approve a professional proof means editing a file.
If you want to work through the invitation specifically, including design software options, paper stock choices, and the step-by-step printing process, our guide to DIY wedding invitations covers that piece in detail.
For professionally printed invitations across a range of paper stocks and print methods, you can compare options at Paperlust wedding invitations.
The seating chart belongs in the “buy” column once your guest list reaches 80 or more. Names must be perfectly accurate, the layout changes until the week before the wedding, and the chart is a focal point guests photograph and refer to throughout the reception. Professional printing handles last-minute updates more cleanly than a home setup that requires reprinting and retrimming every time a guest changes their RSVP.
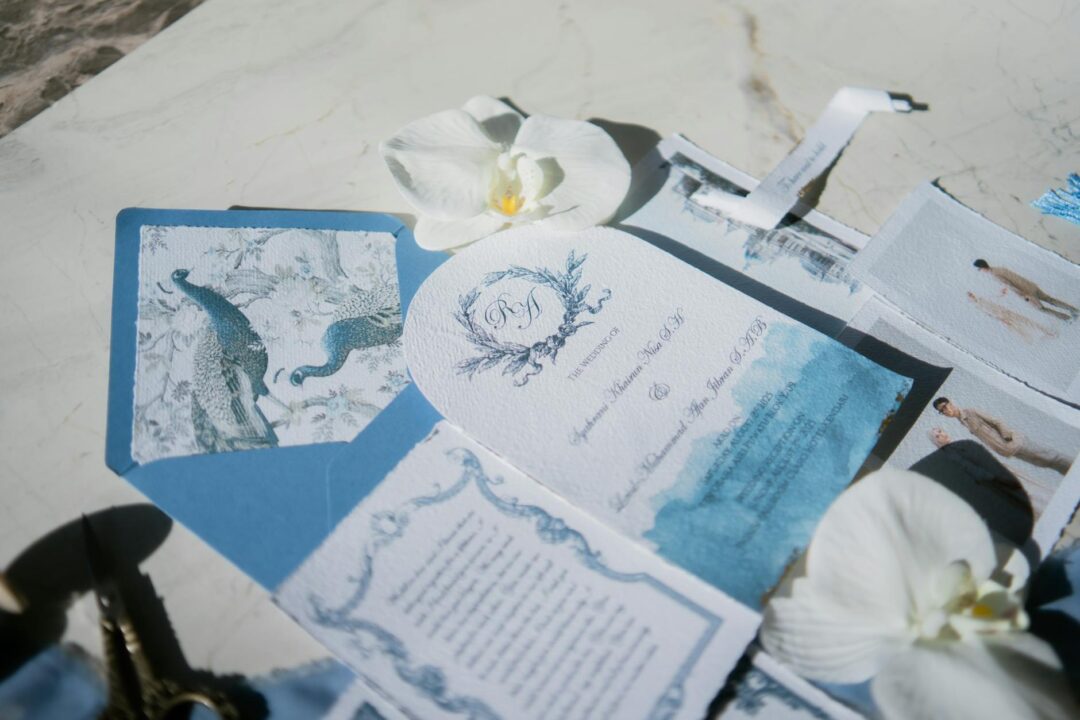
The Hybrid That Usually Wins
The practical approach is to buy the pieces guests will hold and keep, and make the pieces they will see briefly or that benefit from a personal touch.
A practical starting point for many couples looks like this:
- Buy: Invitation suite (invitation, RSVP, enclosures), and the seating chart if you have 80 or more guests
- Make: Signage, favor tags, place cards, table numbers, and flat ceremony programs
- Either: Thank-you cards, depending on your bandwidth in the weeks after the wedding
For visual consistency across everything, design a simple reference before you start: two typefaces at most, a color palette with exact values, and a consistent margin or border treatment. Apply that guide to every piece you design yourself, and share it with any professional printer handling your invitation suite. Consistent typography and color do more for cohesion than matching paper stock exactly.
Invitation designs you personalize online, printed on real stock. The $5 sample pack puts seven designs and an envelope in your hands, including real foil and letterpress, so you judge paper and finish off a screen.
Frequently Asked Questions
Is DIY wedding stationery actually cheaper?
It can be, but often by less than people expect. The materials cost is real, and so is the time: as a rule of thumb, plan for a full weekend or two to get a 100-guest suite from design to sealed envelopes, including test prints, cutting, and assembly. DIY is most cost-effective when you limit it to simple, flat pieces and budget for test prints and a cushion for mistakes before you start.
What equipment do I need to get started with DIY stationery?
The essentials are a paper trimmer (not scissors, which produce inconsistent edges), a bone folder for any scored folds, and a printer you have tested on your chosen cardstock weight before buying your materials in bulk. For embellishments, a wax seal set and double-sided tape or foam mounting squares cover most finishing needs without adding significant complexity.
Can I print my own wedding invitations at home?
You can print flat designs on cardstock up to about 80 to 100 lb cover on most home printers, and the result looks good for a clean, minimal design. What you cannot replicate at home is heavy cotton stock at 110 lb and above, letterpress, foil stamp, or consistent full-bleed color on heavier paper. If your invitation design relies on any of those, professional printing is the right tool for that piece.
How long does it take to DIY a full stationery suite?
As a rule of thumb, plan for a full weekend or two to take a 100-guest suite covering invitation, RSVP, and a details card from design to sealed envelopes. That includes design iterations, test prints, cutting, assembly, and addressing. Day-of pieces such as place cards, table numbers, and signage add several more hours but are usually spread across a different work session closer to the wedding date.
What stationery should I definitely buy rather than make?
The main invitation card is the clearest case for professional printing. Guests handle it at home and some keep it. Anything requiring foil, letterpress, or cotton stock above 100 lb is also in the buy column, since those finishes require equipment a home printer cannot replicate. The seating chart, particularly for larger guest lists with last-minute RSVP changes, benefits from professional production for the same reason.
How do I make DIY pieces look like they match the professional ones?
Build a simple style guide before you start: two typefaces at most, a color palette with exact values, and a consistent margin or border treatment. Apply that guide to every piece you design, and share it with the professional printer handling your invitation suite. Consistent typography and color do more work toward visual cohesion than trying to match paper stock exactly.