Free worldwide express shipping
on orders over $350 USD.
Create and sell stunning print designs, and build your personal brand on Paperlust.
Our community of talented independent print designers welcomes all creatives with a passion for print design. No matter if you are a print guru or just dabbling in the art print design we have all the tools you need to create stunning stationery designs for sale on Paperlust.
You get to focus on doing what you are passionate about - creating unique print designs - and our talented team will take care of the rest - printing, shipping, customer service and everything in between.
Become a Paperlust print designer today and join our amazing community of talented creatives
You always own the intellectual property rights to your work.
By uploading your work to Paperlust, you agree to license the design to us in perpetuity and grant the right to modify submitted work. You also grant Paperlust the right to use your designs as part of marketing communications.
Paperlust respects the intellectual property of others, and we ask our users to do the same. You may not post any user submission or design that contains copyrighted material belonging to others, or any material that infringes the intellectual property right of others, without obtaining their prior written consent.
If you believe that any user submission or design infringes your copyright or other intellectual property rights, then please contact us - support@paperlust.co
For more information, please view our terms & conditions.
We’re excited to have you become a Paperlust print designer! All you need to do is sign-up and create your designer profile! - It’s 100% FREE
We’re sorry to see you go!
You can deactivate your account at any time, however your designs will no longer be available for sale and you will no longer earn commission. If you would like to close your account, please email us telling us you would like to deactivate your account
Well take care of the boring business stuff
The Paperlust team takes care of printing, packaging, shipping, customer support and more so you can focus on what you're passionate about - creating!
Our team is here to help you.
Design Enquiries
General Enquiries
The Designer Kit has everything you need to start designing.
Downloading Your Designer Kit
In your designer profile page you’ll find a link to download the designer kit.
Designer Kit Instruction Manual
A PDF document with simple instructions to get you from the beginning to the end of your project, including which layers to use, and how to prepare your files before submitting your work.
Adobe Illustrator Templates
The kit includes multiple Adobe Illustrator templates to use in portrait, landscape and square formats. You can choose from a range of cards to design, including invitations, save the date cards, and thank you cards.
Stock Images
If you want to design a photo invitation and need placeholder images, please download the approved stock images from stock image download folder.
The essential tools you need to create a design for Paperlust includes:

The Designer Kit has everything you need to start designing. It includes:
A PDF document with simple instructions to get you from the beginning to the end of your project.
The kit includes multiple Adobe Illustrator templates to use in portrait, landscape and square formats. You can choose from a range of cards to design, including invitations, save the date cards, and thank you cards. The Designer Kit Instruction Manual will guide you through which layers to use, and how to prepare your files before submitting your work.
If you want to design a photo invitation, we’ve included a sample of 15 stock images to choose as the placeholder image. The customer will be able to switch the images for their own when they place an order.
Still unsure? Visit the Designer Forum or contact us at designs@paperlust.co for support.
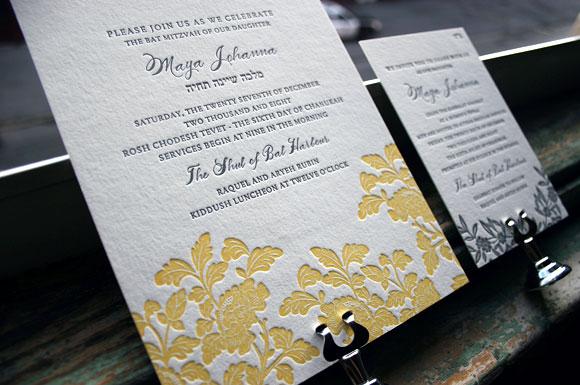
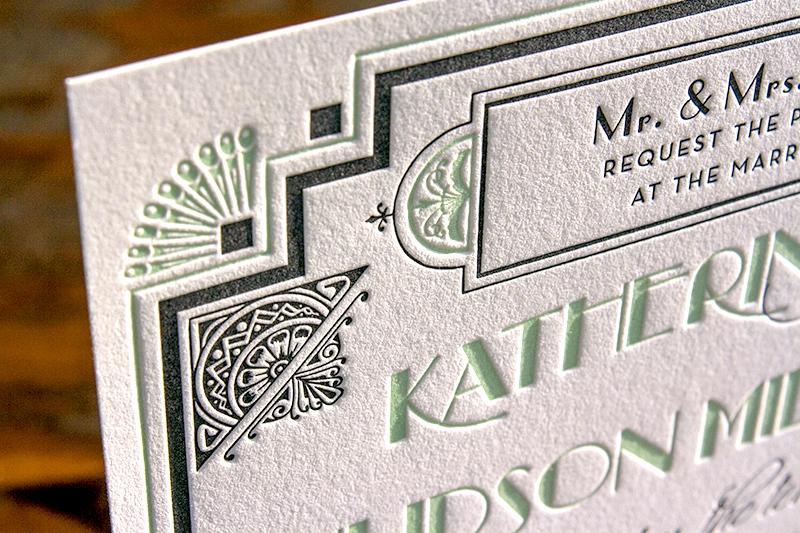
Using letterpress and foil stamping can be very effective to make your designs stand out. Both are traditional relief printing processes, where pressure is applied to a plate, and ink or gold and silver foil are imprinted onto the paper. Letterpress is known for its deep impressions onto the paper, which is something to think about when designing your invitation!
FOIL STAMPING:
The process of printing with foil stamp begins with digitally printing the design elements in CMYK. This includes photos, customisable text, background textures, patterns, digital graphics, etc. The foil stamp is then printed on top of the digitally printed elements meaning that digital items cannot be printed on top of foil, so make sure to use the correct layers in the template when preparing your design.
Things to consider when designing:
Avoid using large blocks of foil in your design. Large areas of foil can have trouble adhering to the paper and may end up peeling off the paper.
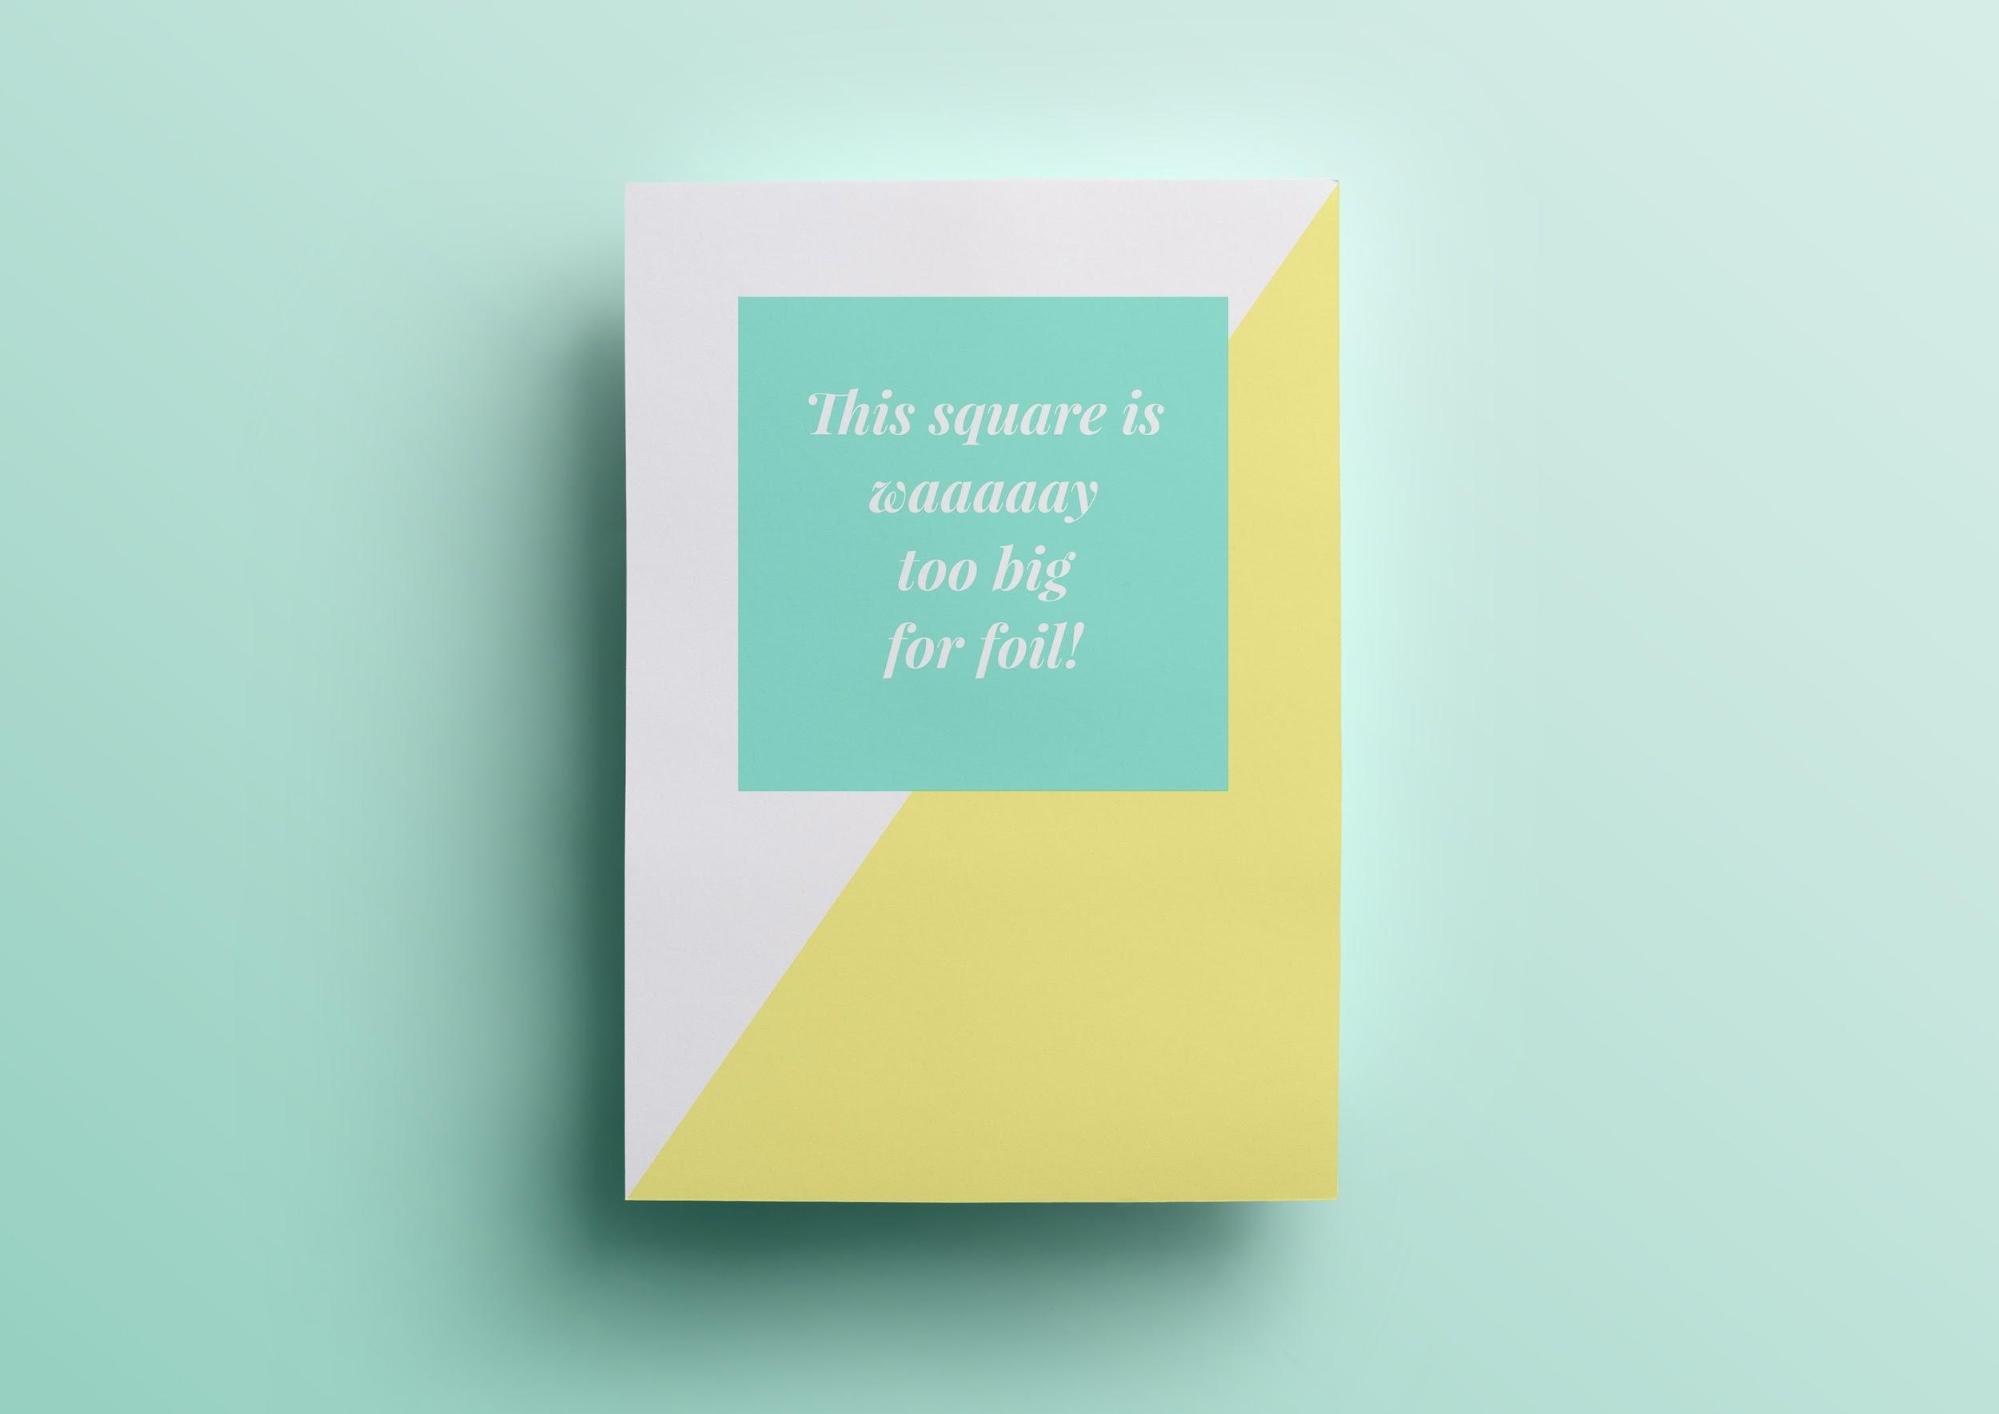
Ex. 1: the green box would be too large a block to foil stamp as the foil wouldn’t adhere properly.
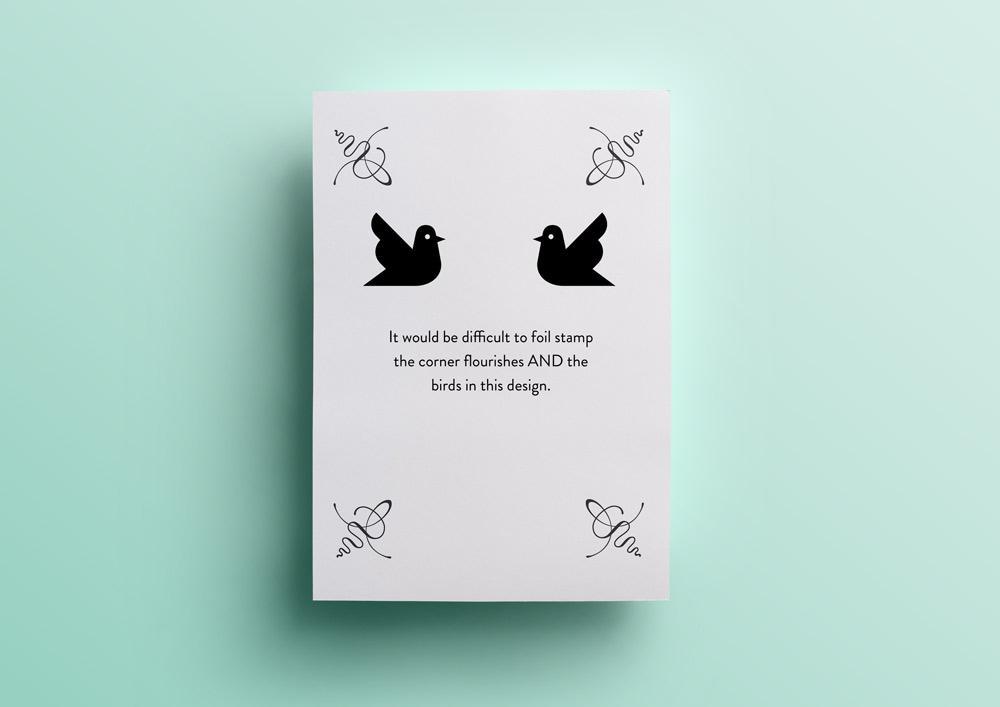
Ex. 2: The thin corner elements would appear blotchy if foil stamped with the solid birds.
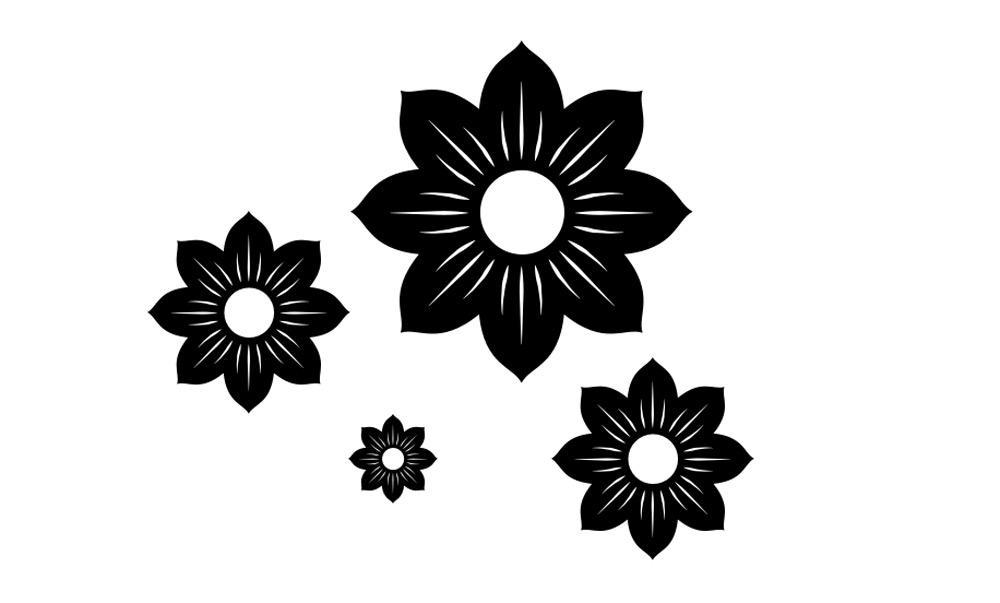
Ex. 3: The hairline details in these flowers would fill in with foil and not look as effective.
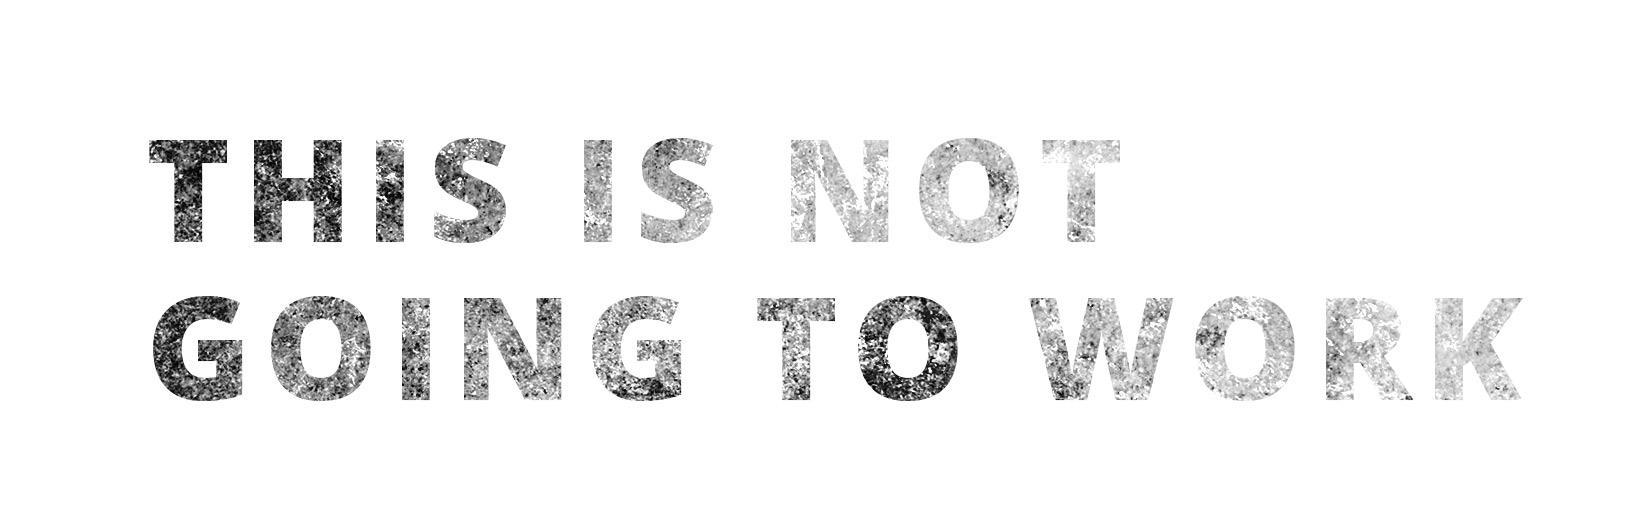
Ex. 4: Textures like this will not foil properly.
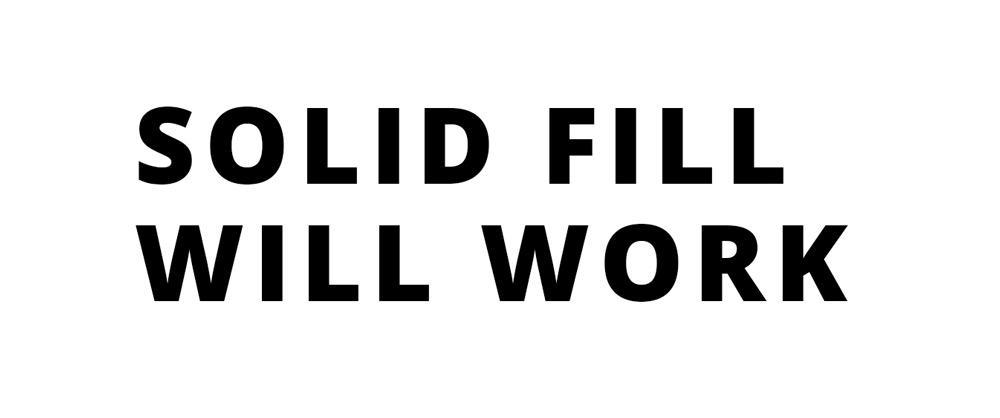
Ex. 5: Using a solid fill will work well with foil.
Large orders can cause an effect called ‘drifting’ of the paper sheets during printing. This can cause the foil registration to move from its original placement in the design slightly. To avoid this messing up your design, we recommend adding foil elements that don’t need to be perfectly aligned next to a non-foil element.
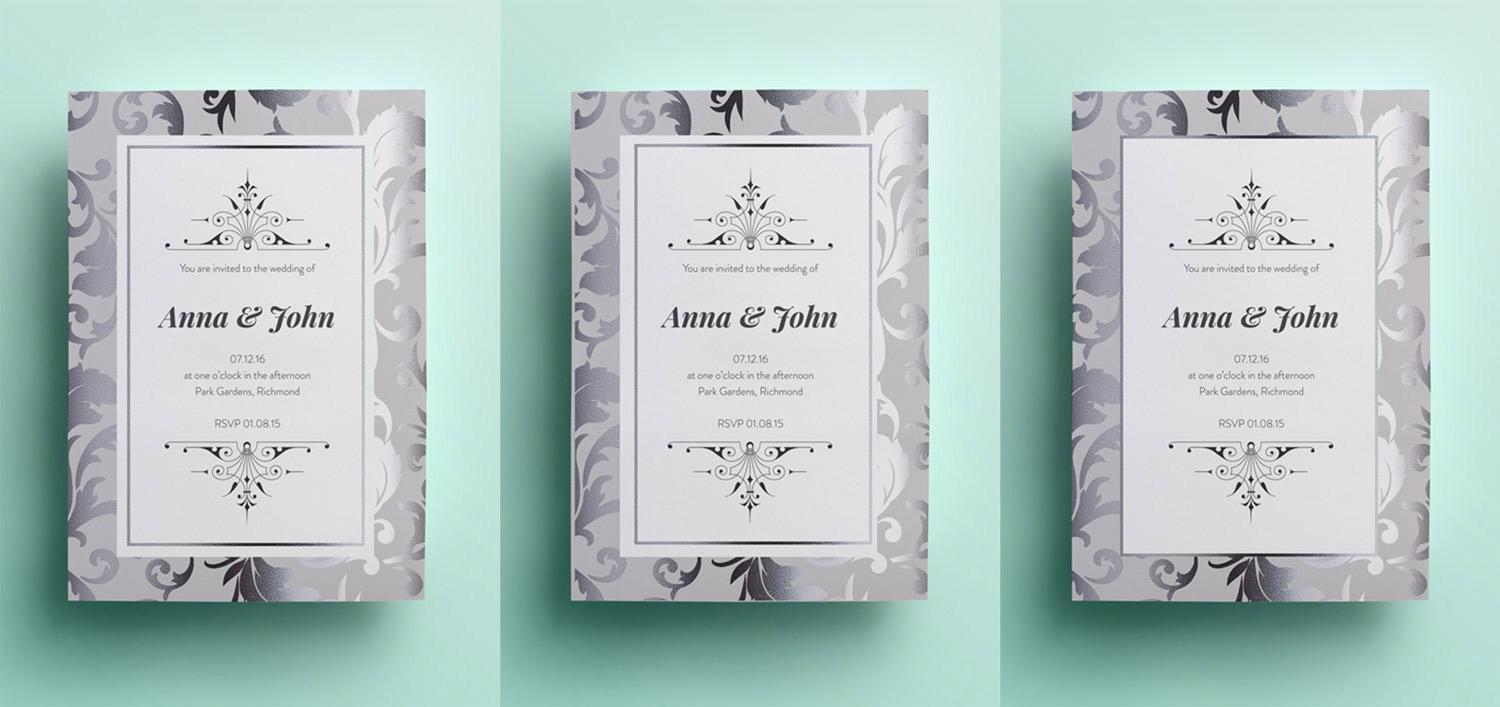
Ex. 6: The first image has the potential for drift, as seen in the centre image. The third picture is a solution to avoid noticeable drift.
You can bleed your foil elements off the edge of the page.
Leave at least >0.25pt buffer around any customisable text or elements
You must create compound paths and vectorise all your foil elements in your Illustrator file. “Expand” strokes and “Unite” artwork using the Pathfinder tool.
We have provided foil textures in the Design Kit so that you can use as clipping masks in your preview images. This will show you how the foil will look in your design, and make a great preview for customers to view your work.
Paperlust licenses all the fonts that we use for print and online. We are not able to distribute fonts, so each designer must download/purchase their font on their computer.
To make things easier for our designers, we have put together a list of free, commercial licensed fonts for you to use in your designs, including the links to download most of them. Over time we will add more choices, (including purchased fonts), and encourage our designers to let us know what they want to see included on the list. If there is a free font you want to use that is not on the list, incorporate it into your designs and let us know where to download it from! Please make sure that it is available for commercial use.
View our font list.
We encourage our artists and designers to create original elements for your work, as we are all about showcasing fresh, new design and talent. Any artwork that you incorporate into your design should either be:
We understand that designers often seek inspiration from many sources, including from the work of other designers and as a rule of thumb, copyright law protects the expression or physical form, but not ideas, concepts, information, styles or methods.
We reserve the right to reject any designs we suspect of infringing on copyright, and you may be required to submit early sketches and other evidence of the creative process if we have concerns about any submitted designs.
Sometimes it’s hard to get the words just right for the appropriate occasion. So we’ve done it all for you! Have a look at our Invitation Wording Samples which include many different options for different cards, occasions and formalities. These samples can also be found in the Designer Resources.
For more information on invitation wording (maybe you’d like to write your own?), we have many articles on our blog about this subject.

Once you have completed your invitation design following the Designer Kit Instruction Manual, you are ready to upload your file for submission. To upload your file, follow these steps:
STEP 1. On www.paperlust.co log into your designer profile. If you don’t have a profile yet, please Join Us and create your new profile.
STEP 2. In your profile page select Step 2. “Upload a Design”.
STEP 3. Follow the steps to upload and submit your design.


ZIP FILE
We accept archived (zip) file, containing multiple templates per design style. For each design, check that each archived file contains:
Please note:

EXPORT
To avoid any problems uploading your design to Paperlust, please create your design using our templates.
STEP 1. Ensure that all layers except the background layer have only one text/image object per layer.
STEP 2. Unlock the guideline layer and remove it.
STEP 3. Select “File - Save As”, then change the file type to .svg format.
STEP 4. Click “Save” and use the following .svg settings (different from the default settings).
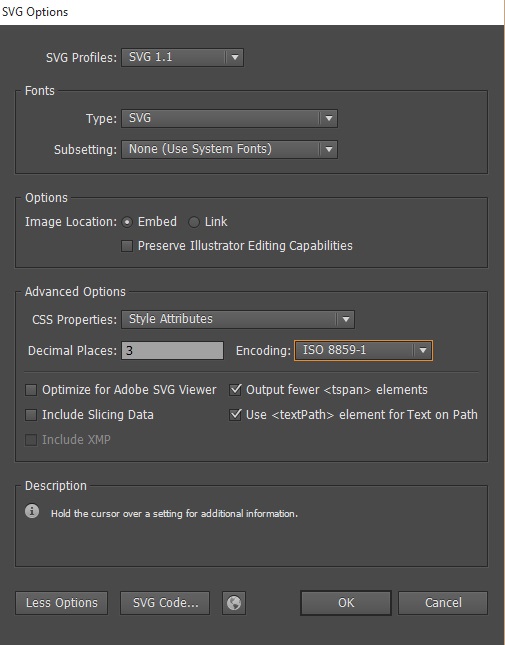
STEP 5. Create and save a preview image file for each unique design. Use the “Save For Web” option and save the file using default settings. Make sure the quality is set to high.
For single designs with multiple colour schemes:

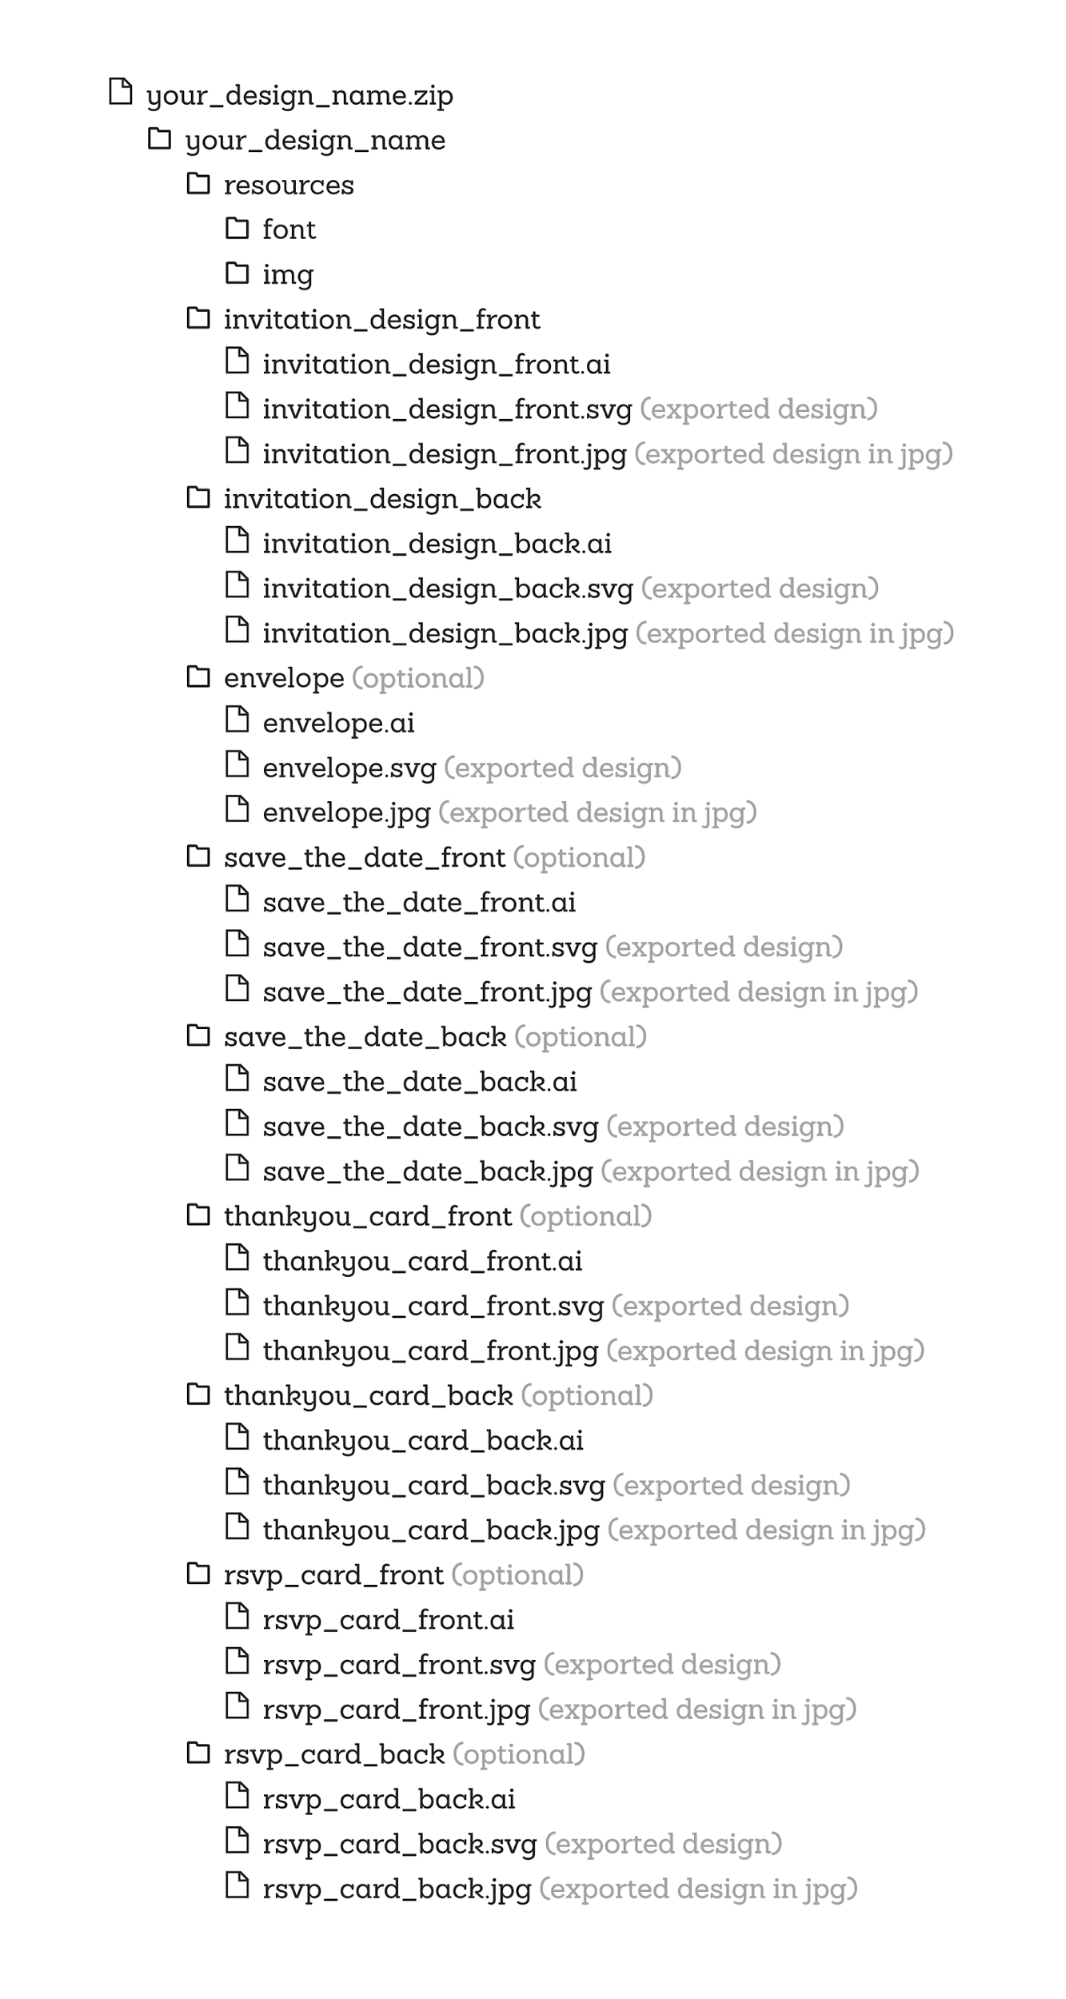
FOLDER STRUCTURE EXAMPLE
Use this folder structure example (included in the Designer Kit) as a guide when saving and organising your files for export:
You have the choice of three printing options - the default printing type will be flat (digital) print.
Adding Letterpress and Foil Design Layers:
LETTERPRESS
FOIL DESIGN
IMPORTANT: For every colour variable and print type combination create a new file and preview for upload.

LETTERPRESS DESIGN GUIDELINES
All designs must be done in either one colour or two colour variations. NOTE: Black counts as one colour.

FOIL DESIGN GUIDELINES
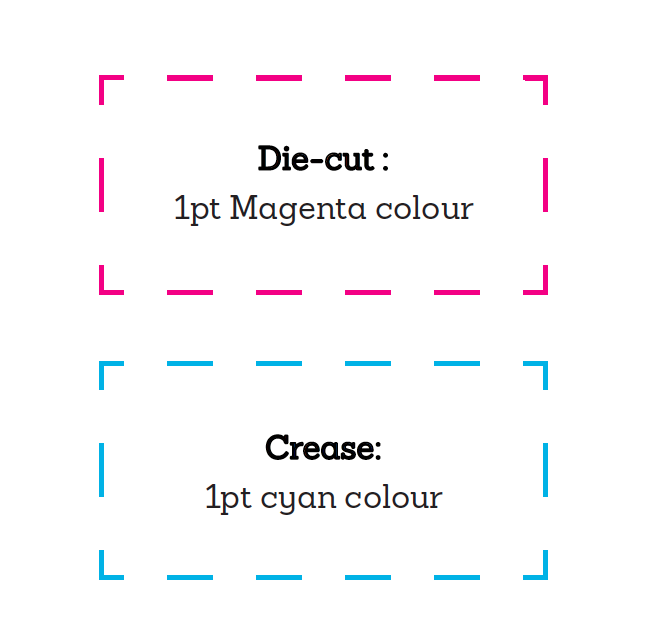
Indicate paths with:
What templates do I need for submitting work?
All the templates are provided in the Designer Kit
What happens after I submit my work?
How will I know if my design has been launched for sale?
You can download the designer kit here
You can submit as many designs as you desire! There’s no limit to creativity. All designs still need to go through the approval stage during submission to ensure Paperlust continues to offer beautiful and quality designs for sale.
Commission earned from sales will be paid to Paypal accounts on a quarterly basis in January, April, July, and October. We will also provide you with a detailed summary of sales in your paperlust account.
Don’t have a paypal account? No worries, it’s free to create - www.paypal.com
You earn money each and every time your designs are purchased. There is no limit to the number of times each design can be purchased.
Paperlust is the print design marketplace for Australia & New Zealand, which means your design will be made available for friends, family and millions of Australians and New Zealanders to purchase. Holy moly!
Link your personal blog / website to your Paperlust designer profile and direct friends, family, and followers to your designs. They can order and personalise your designs right from your Paperlust profile page!
Good news - Paperlust commission is based on the total print order rather than a flat rate. So each time your design is purchased you will earn 6% commission on the total value of the print order relating to your design.
For example:
Sarah’s save the date design x 150 prints
Sarah’s wedding invitation design x 150 prints
Sarah’s menu design x 200 prints
Sarah’s information card design x 150 prints
Sarah’s thank you cards design x 150 prints
Paperlust envelopes x 450
Sarah will earn 6% commission on the total dollar value on all of the above, excluding Paperlust envelopes.
Designers who license their designs to Paperlust agree to receive commissions on sales made through the Paperlust platform as outlined in our standard commission structure. In cases where Paperlust facilitates sales through third-party platforms, such as Joy Life, Etsy, or similar marketplaces, the commission rate passed on to designers may be adjusted to a lower rate. This adjustment reflects the additional costs and fees associated with sales on these external platforms. Designers will be notified of the specific commission rates applicable to each third-party platform, and these rates will be detailed in the designer's account.
If you have any questions about your commission rates, account details, or need assistance with any aspect of your designer experience on Paperlust, we’re here to help!
Simply shoot us an email at designs@paperlust.co, and our team will be happy to assist you.

