
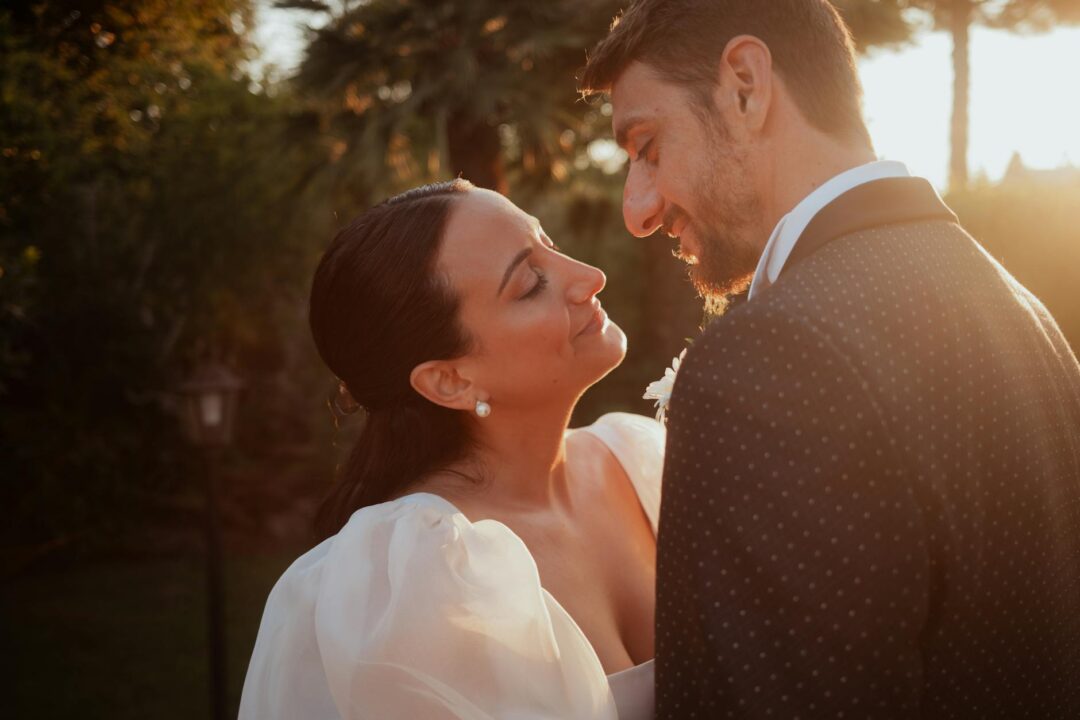
- A complete shot list covers 9 phases: getting ready, first look, ceremony, family formals, wedding party, couple portraits, reception details, golden hour, and send-off.
- Most couples mark 20-30 non-negotiables and let their photographer fill in the rest organically.
- Family formals move fastest when you pre-write 10-15 groupings by name and assign a family wrangler on each side.
- Golden hour portraits need 15-30 minutes blocked before sunset, build this into your timeline, not as an afterthought.
- The best galleries blend roughly 70% candid and 30% posed: “prompted” moments (whisper something, walk toward me) bridge the gap naturally.
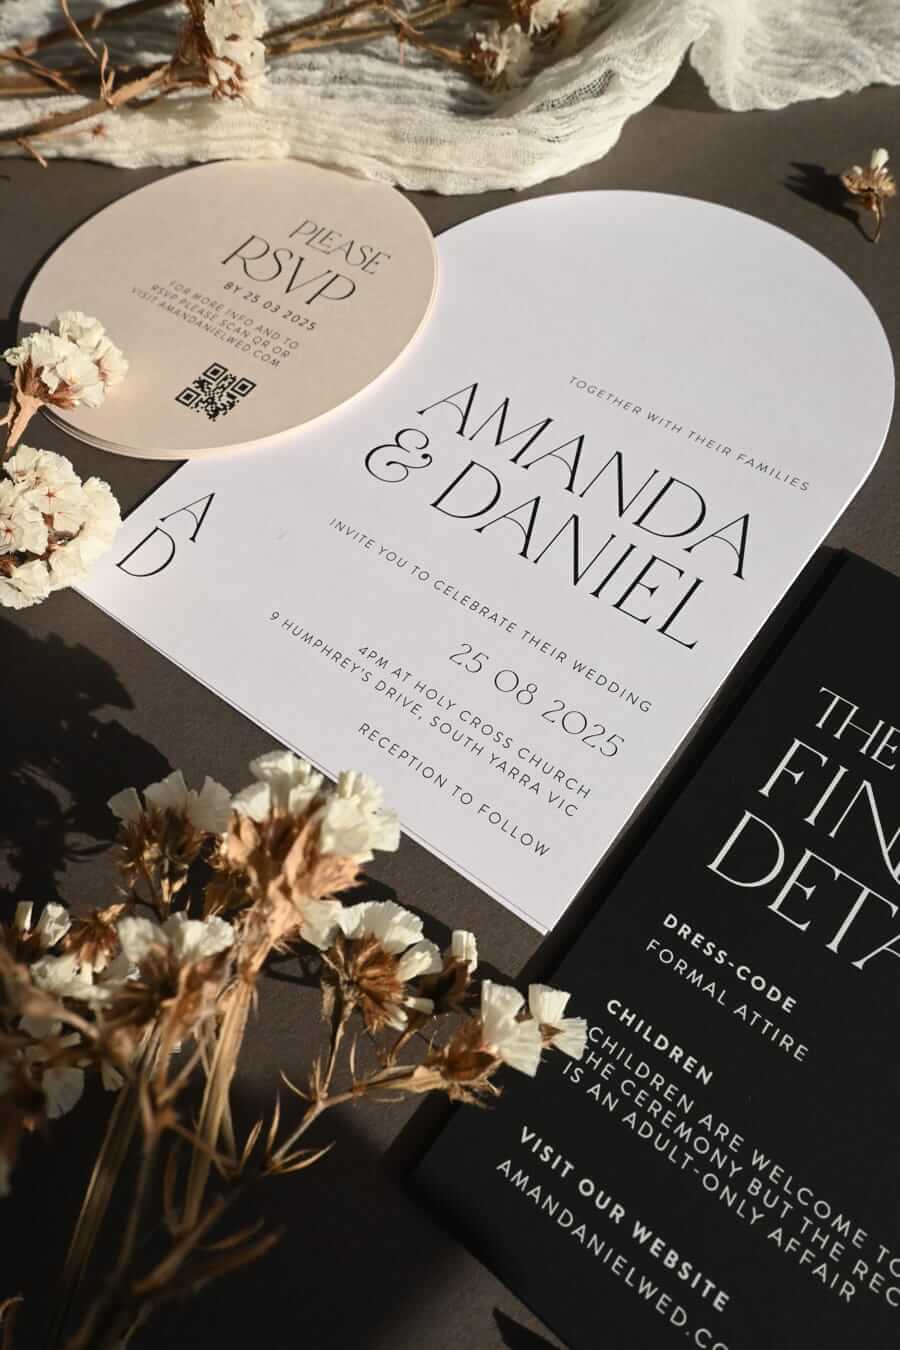
- Photos of your invitation suite, save-the-dates, and stationery details make beautiful flat-lay shots your photographer will thank you for including.
Wedding photography is one of the only purchases you make where you pay before you know what you’re getting. The shots that matter most (a parent’s face as you walk down the aisle, your partner seeing you for the first time) happen once, in seconds, and can’t be re-staged. The couples who walk away with their dream gallery aren’t the ones who left it all to chance. They used a plan. This guide gives you that plan: a timeline-based shot list across every phase of your day, a family combinations matrix you can hand directly to your photographer, and the practical candid-vs-posed framework that 2026 photographers actually use. Treat it as a decision tool, not a wish list.
How to use this guide
Read through once, then go back and mark your non-negotiables, most photographers recommend flagging 20-30 must-haves rather than handing over a 130-item list. Share the marked version with your photographer at least one week before the wedding so they can build their shooting sequence around it. If a section doesn’t apply to your wedding (no first look, no send-off), skip it. The goal is a clear, realistic brief, not a perfect checklist. Keep the marked list once the gallery lands, because those same shots are usually the ones that end up as photo wall art at home rather than staying in a folder.
For a deeper look at how to actually pose during couple portraits, see the companion guide to wedding photoshoot poses. And if you’re still in the planning stages before your wedding date, the pre-wedding photoshoot guide covers engagement sessions and how to build your photographer relationship well in advance.
Shot list by timeline phase
Phase 1: Getting ready (2-3 hours before ceremony)
Getting-ready coverage splits across two locations, your prep space and your partner’s. If your photographer is solo, they’ll stagger between both. If you have a second shooter, each space gets dedicated coverage. Either way, budget 2-3 hours. This phase generates two distinct shot types: detail flat-lays and candid moments.
Detail flat-lay shots
- Wedding dress hanging in natural window light
- Shoes, jewelry, and accessories grouped
- Engagement ring and wedding bands together and separately
- Invitation suite with envelope, RSVP card, and inserts, this is often the most underused detail shot, and it photographs beautifully
- Save-the-dates if you kept one
- Vow booklets, programs, any heirloom items (handkerchief, locket, brooch)
- Bouquet and boutonniere
Getting-ready candids
- Hair and makeup in progress (wide room shot + close-up details)
- Bridesmaids or attendants in matching robes or getting-ready outfits
- Someone helping you into your dress, zipping, buttoning, or lacing
- Veil placement
- Reading a letter or opening a gift from your partner
- A quiet moment alone before the ceremony begins
- First look with a parent or close family member (separate from partner first look)
- Portrait by a window in soft, directional light, this is often the cleanest portrait of the day
For the other partner
- Suit or tuxedo hanging, tie, cufflinks, watch, shoes
- Boutonniere close-up
- Groomsmen getting dressed together (buttoning, adjusting ties)
- Candid moments with the group, cheers, joking around
- Reading a letter from their partner
A note on stationery: your invitation suite, save-the-dates, and any custom paper details are among the most requested flat-lay props, and the ones couples most often forget to bring to the getting-ready space. Pull one from your keepsake box the night before and set it somewhere visible. If you’re still choosing your stationery, the save the date and wedding invitation collections at Paperlust photograph exceptionally well as flat-lay props, particularly foil-stamped and letterpress designs that show texture in close-up shots.

Phase 2: First look (optional, 1.5-2 hours before ceremony)
A first look, where partners see each other privately before the ceremony, is no longer just a trend. It’s a practical tool for better photography. It creates relaxed, unrushed portraits before the adrenaline of the ceremony, and it gives your photographer 30-45 minutes of portrait time back from cocktail hour so you can actually attend your own party.
First look shot sequence
- One partner waiting (back to the other), captured from behind and in profile
- The approach shot, the walking partner, then the reaction moment as the other turns
- Raw reaction: both faces in the first second of seeing each other
- Full-body reveal shot
- Candid hugs, tears, laughter immediately after
- A quiet private moment, foreheads together, holding hands, or just talking
After the first look, move directly into couple portraits while emotions are still fresh. Plan 30-45 minutes here. These are typically the most relaxed and natural portraits of the day because the formal ceremony pressure is still ahead of you.
Pre-ceremony couple portrait shots
- Full-length hero portrait, both of you, venue behind you
- Close-up with faces together (candid or still)
- Walking shot, holding hands, looking at each other or the camera
- Framed by architecture: archway, doorway, staircase, colonnade
- Sitting together on steps, a bench, or a natural feature
- Ring detail, hands together, close-up
- Dress train or veil from behind, flowing in natural movement
- Bouquet held at waist, close-up
- Forehead kiss or back hug shot
Phase 3: Ceremony (20-45 minutes)
Most ceremony coverage is documentary by necessity, your photographer moves quietly without directing. The shots that get missed most often are reaction shots, so brief your photographer to shoot reactions as much as the action itself.
Before guests arrive
- Exterior venue establishing shot
- Interior ceremony setup, chairs, aisle, arch or altar fully set before guests arrive
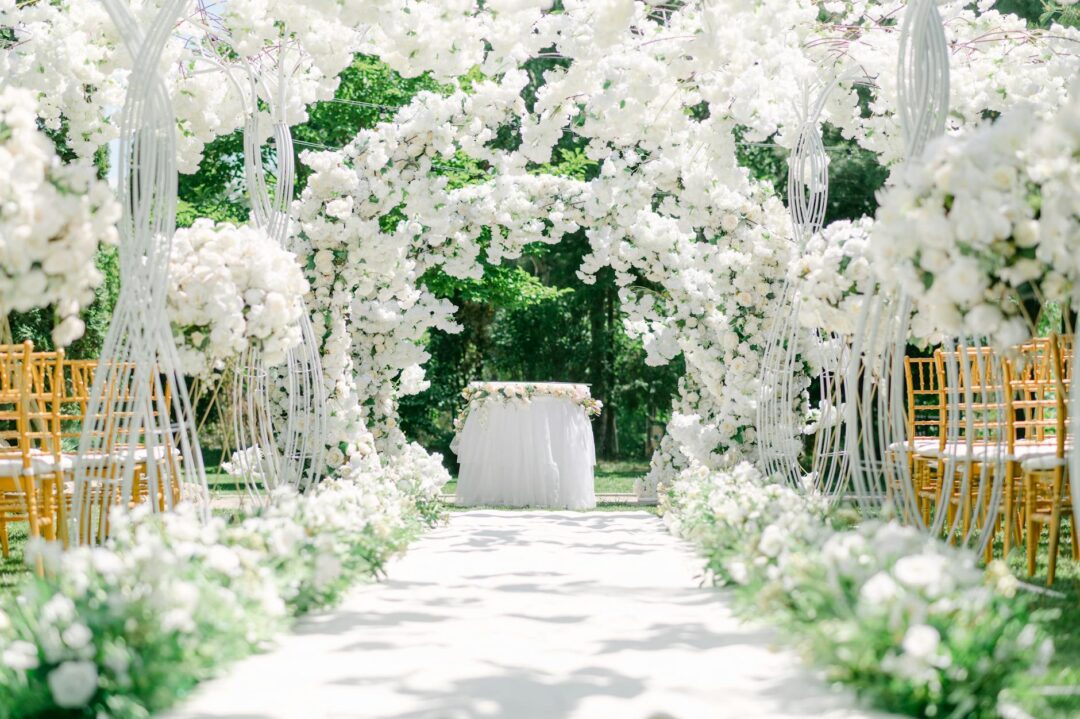
- Floral close-ups: arch arrangement, pew ends, aisle petals
- Programs, reserved signs, any memorial tribute
Processional
- Wedding party walking in, each person or pair
- Flower girl and ring bearer
- Your partner waiting at the altar, face and full body
- Your entrance with escort, multiple angles if possible
- Your partner’s reaction as you appear, this is a non-negotiable
- Parent or close family reactions watching you walk in
During the ceremony
- Wide shot from the back, couple and guests in frame
- Wide shot from the front, including the officiant
- Both faces during readings and vows
- Ring exchange close-up, hands only
- Any cultural or religious rituals: unity candle, handfasting, sand ceremony, garland exchange
- Over-the-shoulder from the couple facing guests
- Guest faces during emotional moments
The kiss and recessional
- First kiss from the primary angle
- First kiss from a second angle or wide shot if a second shooter is present
- Recessional walk back down the aisle, guests cheering
- Confetti, petals, or bubbles exit if planned
- Immediate candids after the ceremony: hugs with wedding party and family
Phase 4: Family formals (20-30 minutes)
Family formals are the most logistically complex part of the day. The photography itself takes 2-3 minutes per grouping. The time is almost always lost rounding people up. Solve this before the day.
The family combinations matrix
Write your list with specific names, not just “both families.” Share it with your photographer and assign a dedicated wrangler (MOH, best man, a reliable sibling) on each family side whose only job is to gather people and hand them off.
| Grouping | Who’s in it | Priority |
|---|---|---|
| Couple + Partner 1’s parents | Names here | Must-have |
| Couple + Partner 2’s parents | Names here | Must-have |
| Couple + both sets of parents | All 4-6 parents | Must-have |
| Couple + Partner 1’s immediate family | Parents + siblings | Must-have |
| Couple + Partner 2’s immediate family | Parents + siblings | Must-have |
| Couple + grandparents (each side) | Names here | High priority |
| Couple + siblings only | Names here | If time allows |
| Couple + extended family (aunts, uncles, cousins) | Specify groupings | If time allows |
| Special groupings (godparents, chosen family, etc.) | Names here | Add as needed |
Keep the list to 10-15 groupings maximum. If you have more, you will either run over time or rush the shots. Grandparent photos should be prioritized, move them toward the top of the sequence so mobility-limited guests aren’t waiting longest.
Phase 5: Wedding party (30-45 minutes)
- Full wedding party together, classic posed, then a fun version (walk, cheer, or candid laugh)
- Environmental wide shot: couple and full party, venue in background
- Couple with attendants only (each side separately)
- Attendants-only group, posed then candid
- Individual shot of each attendant with their partner in the couple
- Flower girl and ring bearer together, then each with the couple
For a venue-specific take on how these shots look, garden vs. beach vs. barn, the venue styling guide series covers garden weddings, beach weddings, and rustic and barn weddings with photography-specific ideas for each.
Phase 6: Reception details and coverage (2.5-4 hours)
Your photographer should have 15-30 minutes in the reception space before guests enter to shoot the room fully set, this window is often missed when the timeline runs long. Flag it as a hard requirement when you review the run of show.
Reception detail shots (before guests enter)
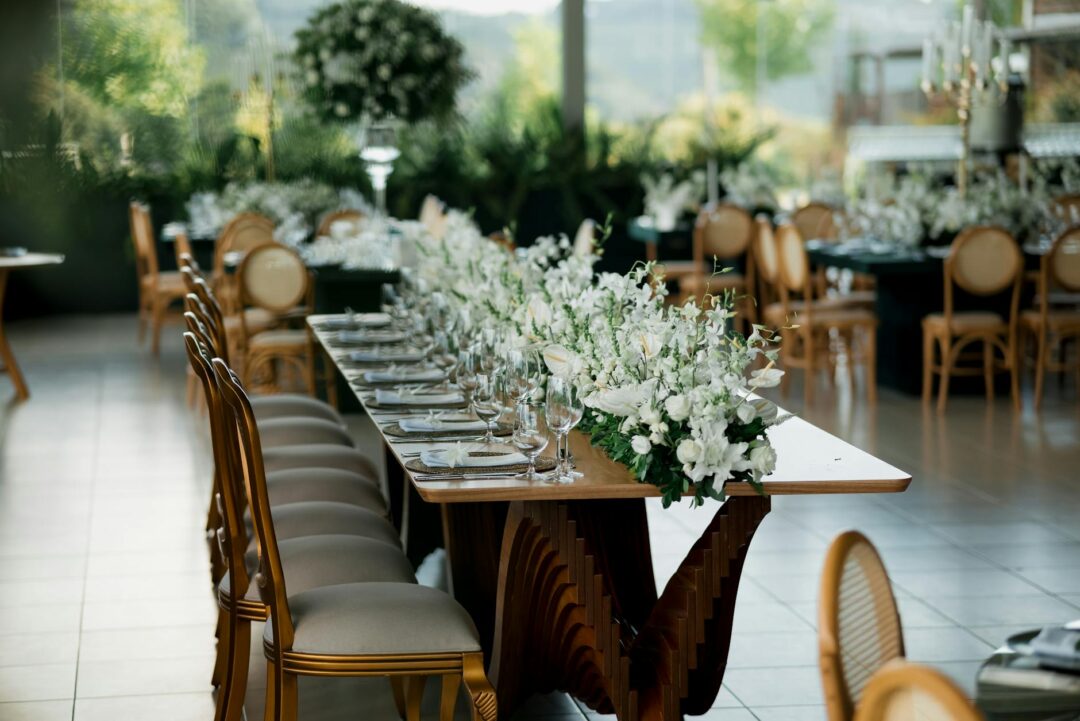
- Room-wide establishing shot, centerpieces and full decor in view
- Head table or sweetheart table
- Guest table settings: centerpieces, linens, menu cards, table numbers
- Place cards, escort cards, or seating chart display
- Cake: full shot and close-up detail
- Dessert table, late-night snack station, or grazing table
- Bar setup and signature cocktail presentation
- Guest book, photo booth, audio guest book, or any interactive element
- Favors and any personal detail items
Reception events (mix of candid and directed)
- Grand entrance of the couple (and wedding party if included)
- First dance
- Parent dances, father-daughter, mother-son, or whichever combinations apply
- Toasts and speeches: speaker and couple reaction shots simultaneously
- Cake cutting
- Dance floor: wide shots showing crowd energy, close-up candid moments
- Guests at tables, laughing, clinking glasses
- Group shots with specific friend groups, brief your photographer if there are people or groups you want captured
- Bouquet toss or alternative activity if planned
Phase 7: Golden hour (15-30 minutes)
Golden hour, the 45-60 minutes before sunset, produces the soft, warm, backlit images that dominate wedding galleries. Most photographers treat this window as non-negotiable for their best shots, but it only works if the timeline protects it. Check your wedding date’s sunset time in advance, then build in 15-30 minutes of couple portrait time starting 50-60 minutes before that time.
Golden hour shots to request
- Backlit hero shot, sun behind the couple, creating a warm rim glow
- Walking or spinning in the golden light (movement adds life)
- Close-up with sun flare visible through or beside the couple
- Silhouette against the sky or landscape, simple and striking
- Venue-framed portrait: vineyard rows, tree canopy, city skyline, coastal horizon depending on your setting
If your ceremony runs late into the evening or your venue doesn’t allow outdoor portraits, night portraits offer an alternative: dramatic flash-lit portraits outside the venue, or intimate shots under string lights, neon signs, or marquee letters.
Phase 8: Send-off
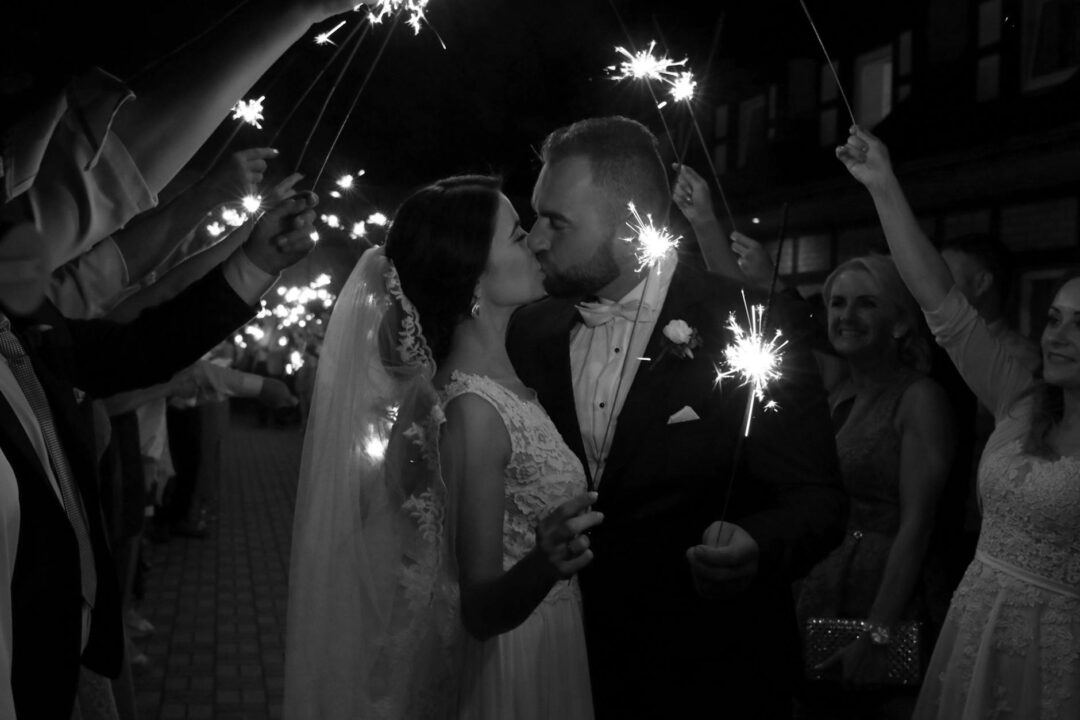
- Sparkler tunnel, LED wands, or glow-stick arch exit
- Confetti or petal shower from guests lining the path
- Couple running through, pausing mid-run for a kiss
- Getaway car with just-married signage or ribbon
- Final private portrait away from the crowd before or after the exit, often one of the simplest and most meaningful images of the night
Candid vs. posed: how to think about the balance
Most couples arrive at their shoot with a 70/30 split as a working target: roughly 70% candid and documentary coverage, 30% structured portraits and family formals. But the real distinction that 2026 photographers use is a three-category framework (posed, prompted, and candid) because “posed” and “candid” aren’t actually opposites.
- Posed: “Stand here, look at the camera, hands like this.” Useful for family formals and formal group portraits where you need everyone in frame and organized.
- Prompted: “Walk toward me and tell each other something about tonight.” Feels candid, produces natural expressions, but the photographer is directing the situation. This is where the best couple portraits come from.
- Candid: No direction, photographer anticipates and documents. Best for ceremony reactions, reception moments, and getting-ready interactions.
When you brief your photographer, tell them your preference for couple portraits: posed (editorial, fashion-forward) or prompted (natural, emotional). Both are valid. “More candid” usually means “more prompted”, your photographer will know the difference.
Creative and trend-forward photo ideas for 2026
These aren’t requirements, they’re ideas to share with your photographer if any resonate. Mention them specifically; photographers need verbal briefing to know these are intentional rather than accidental.
Drone and overhead shots
Drone photography adds scale and context that ground-level shots can’t capture: the full ceremony layout from above, the couple tiny in a dramatic landscape, or aerial reception decor shots. Confirm with your venue that drones are permitted well in advance, many indoor venues and some parks and beaches restrict them. If your photographer doesn’t shoot drone, they can often refer you to a local specialist for a few targeted shots. A wide aerial frame is also the one that holds up best at the biggest size we print, 60x90cm on canvas prints.
Documentary and film-style
The 2026 direction in wedding photography is a documentary-editorial blend: styled portraits that look cinematic alongside raw moments shot with minimal interference. If you’re drawn to this, look at your photographer’s gallery specifically for ceremony coverage and reception dance floor shots, those moments reveal their documentary instincts fastest.
Props and themed details
Props work best when they’re already part of your wedding, florals, furniture from your reception, a meaningful heirloom, or your stationery suite. Avoid importing unrelated props that don’t match the day’s aesthetic. A well-styled flat-lay using your actual invitation, program, and menu tells a coherent visual story. For couples with a strong wedding theme, the wedding themes 2026 guide covers visual direction ideas for over 20 styles including boho, vintage, garden, and minimalist.
Seasonal and venue-specific ideas
- Outdoor and garden venues: Use architectural features (trellises, garden gates, pathways) as natural frames. Morning light through tree canopy creates naturally soft, dappled portraits. See the garden wedding ideas guide for more.
- Beach weddings: Silhouettes at waterline during sunset. Bare-feet-in-sand detail shots. Wide-angle aerial showing ocean and beach setup together. The beach wedding ideas guide covers ceremony and portrait setups specific to coastal venues.
- Rustic and barn venues: Natural wood textures, exposed beams, and window light create warm tones without filtration. Hay bales and wildflowers work as natural props. More in the rustic wedding ideas guide.
- Boho and outdoor: Macrame backdrops, dried florals, and soft earth tones. The boho wedding ideas guide has specific decor and photo styling direction.
- Winter weddings: Snow or frost creates natural texture and contrast. Window light inside warm venues against cold outside creates cinematic contrast. Night portraits with city lights or fairy-lit trees.
What to do two weeks before the wedding
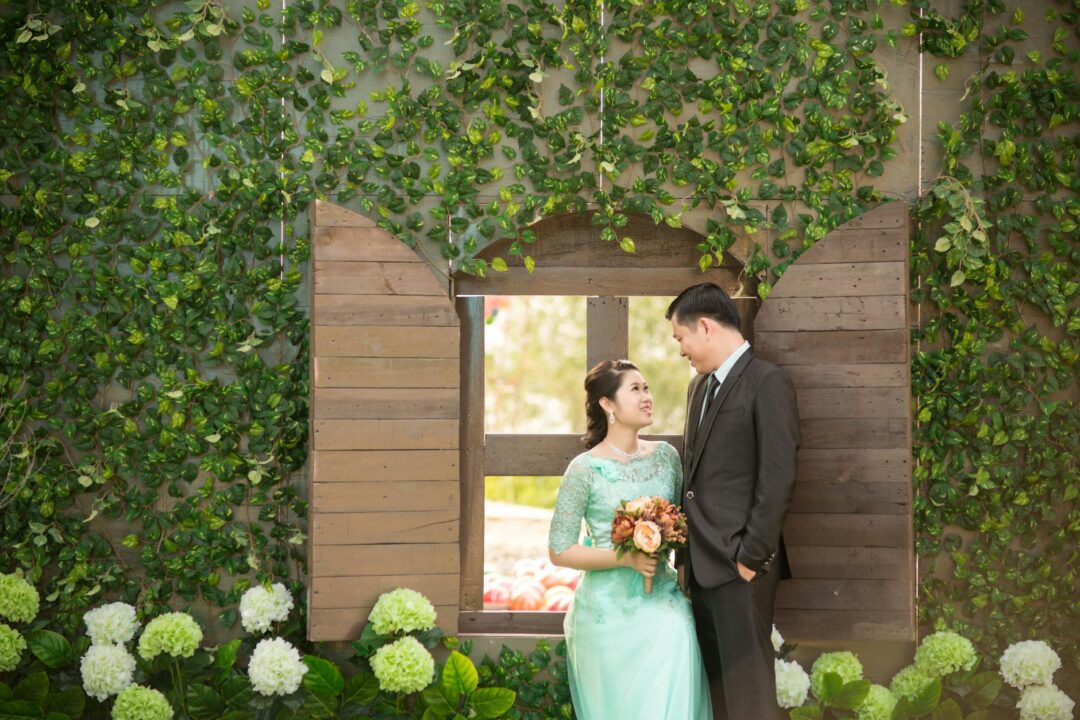
Photography prep in the final two weeks is underestimated. A photographer walking into an unfamiliar venue without a venue walkthrough, a timeline without buffers, or a family list without names will spend the day improvising instead of creating. Give them what they need:
- Your finalized shot list (marked non-negotiables only)
- Family formals list with names and groupings written out
- Run of show with exact times for each block
- Venue contact and any photography restrictions (no flash in church, no outdoor areas after dark, etc.)
- Sunset time for your date and location confirmed
- Confirmation that drone is cleared with the venue if you want aerial shots
Also: put your invitation suite, save-the-dates, and any stationery details you want in flat-lays in one bag the night before. Set it near the dress or with the jewelry. It takes 30 seconds and results in one of the most-pinned types of wedding photos.
For full-day scheduling from morning prep through the send-off, the wedding day timeline guide walks through exact time blocks by ceremony time. And if you’re planning the engagement shoot before your wedding day, the engagement photoshoot guide covers location scouting, outfit planning, and how to get comfortable on camera before the big day.
Your stationery will be in those photos
Wedding invitations, save-the-dates, and stationery suites are the most requested flat-lay props in wedding photography. Choose designs that look as good in photos as they feel in hand.
Frequently asked questions
How many photos should be on a wedding shot list?
Mark 20-30 non-negotiables from your photographer’s baseline list. A list of 100+ items is counterproductive, it overwhelms photographers and leaves no room for organic candid moments. Highlight the moments and people you’d be genuinely upset to miss, then let your photographer handle the rest.
Should we do a first look before the ceremony?
A first look creates better portraits in most cases: you’re relaxed, unhurried, and emotionally present before the adrenaline of the ceremony hits. It also returns 30-45 minutes of portrait time to your cocktail hour so you can actually be there. The trade-off is the traditional “wait to see each other at the altar” moment. Neither choice is wrong, it’s a personal decision about what matters more to you.
How long should family formals take?
Budget 20-30 minutes for 10-15 groupings. The photography itself takes 2-3 minutes per group. The rest is gathering people. Pre-write your list with specific names and assign a family wrangler on each side to call people forward. Grandparents and elderly guests should be photographed first.
What is golden hour and how do I plan for it?
Golden hour is the 45-60 minutes before sunset when natural light turns warm, directional, and flattering. Look up your wedding date’s sunset time for your specific location and block 15-30 minutes of couple portrait time starting 50-60 minutes before that. This window produces some of the best images of the day and is almost always worth protecting on the timeline.
Do we need a second photographer?
A second photographer is most valuable during getting-ready (both partners simultaneously), family formals (one handles groups while the other captures candid reactions), ceremony (multiple angles at the same moment), and reception (dance floor coverage while the main photographer documents couple and speeches). If budget allows and your guest count is over 100, a second shooter is worth it.
What photos are most often regretted when missing?
Grandparent portraits top the list consistently. Also: the partner’s reaction shot as you walk down the aisle, candid parent reactions during the ceremony, and the getting-ready detail flat-lays (especially stationery). These are easy to prioritize if you flag them explicitly, and easy to miss if you don’t.
Is drone photography worth it for a wedding?
Drone photography works best for outdoor venues with space (gardens, vineyards, beaches, estates) where the overhead perspective adds genuine context. It’s less useful for urban venues or anywhere the landscape below isn’t visually interesting from above. Confirm venue and local permission well in advance, many locations have restrictions.
How far in advance should we share the shot list with our photographer?
At least one week before the wedding. This gives your photographer time to review it against the timeline, flag anything that conflicts with logistics, and sequence the day efficiently. A last-minute list handed over on the wedding morning creates unnecessary pressure for both of you.