
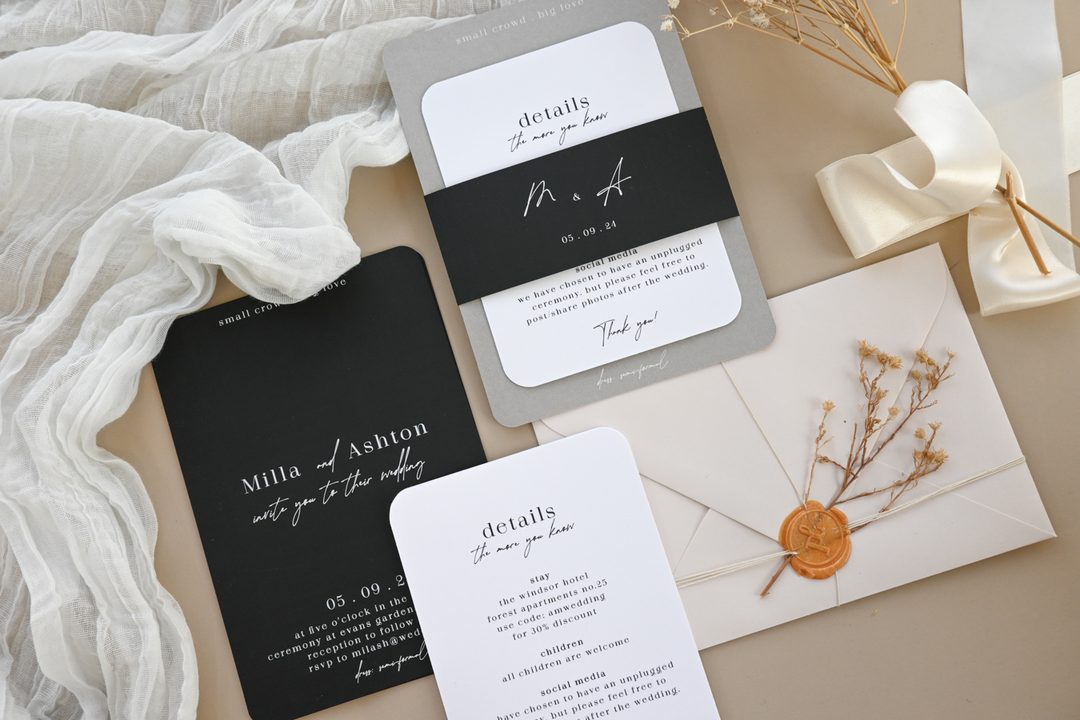
Canva has genuinely changed what a couple can do without hiring a professional designer. The template library is large, the tools are intuitive, and the finished file belongs to you. The catch is that designing something polished is a different skill from exporting something that prints cleanly at professional quality. This guide covers both: the creative side of choosing and customizing a Canva template so your suite feels like your wedding, and the technical side of getting that file out of Canva in a state that a commercial press can actually work with.
- Choose the template first: pick one that is already close to your style so you spend less time fighting the layout and more time refining it
- Two fonts maximum: pair one script or editorial serif for the headline with one clean sans-serif for all body text; adding more typefaces is the fastest way to a crowded design
- Build the suite in order: finish the main invitation before starting the RSVP and details card so every subsequent piece matches the invitation, not the other way around
- Bleed setup: create your canvas at 5.25 x 7.25 in for a 5 x 7 in card, not the finished size, and turn on Show Print Bleed under File
- Export as PDF Print: never PNG or JPG for a file going to a professional printer; PDF Print preserves color settings, embeds fonts, and converts to CMYK on export
- Color check: Canva’s in-app preview is RGB; deep navy, jewel-tone purple, and vivid teal can shift on conversion to CMYK, so review the proof carefully before approving the full run
- Professional print check: Paperlust’s Print My Own Design service checks your file setup and returns a digital proof within 1-2 business days before a single card goes to press
Choosing a Canva Wedding Invitation Template That Works for Print
The Canva wedding invitation library has thousands of options, which sounds like an advantage until you realize that most templates look like Canva templates. The fix is to narrow down your style before browsing. Identify three words that describe your wedding aesthetic, such as “modern botanical,” “minimal serif,” or “moody florals,” and search those terms directly in the library. You will reach a useful shortlist far faster than scrolling page by page.
What makes a template easier to customize
These structural qualities signal a template that will hold up well through editing:
- Generous white space: breathing room between elements is forgiving when your wording does not fit the placeholder length exactly
- Separate text layers: designs where the headline, body text, and accents sit in distinct layers give you real control over what moves and what stays
- Simple background art: florals and illustrations that stay well inside the card edge are easier to work with than full-bleed artwork that competes visually with your names
- Clear visual hierarchy: a design with one dominant element, a clear secondary line, and supporting details reads well at print size; a template where five elements compete at the same visual weight will look cluttered on a physical card even if it works on screen
Canva Free vs. Pro for template access
Canva Free gives you a large template library, including many wedding designs, and lets you export as PDF Print. Canva Pro unlocks more premium templates and adds the Brand Kit feature, which becomes important when you are building a multi-piece suite and want to save your exact hex colors and font pairing for reuse across every card. For a single invitation design, Free is sufficient. For a full matching suite, Pro is worth the trial period.
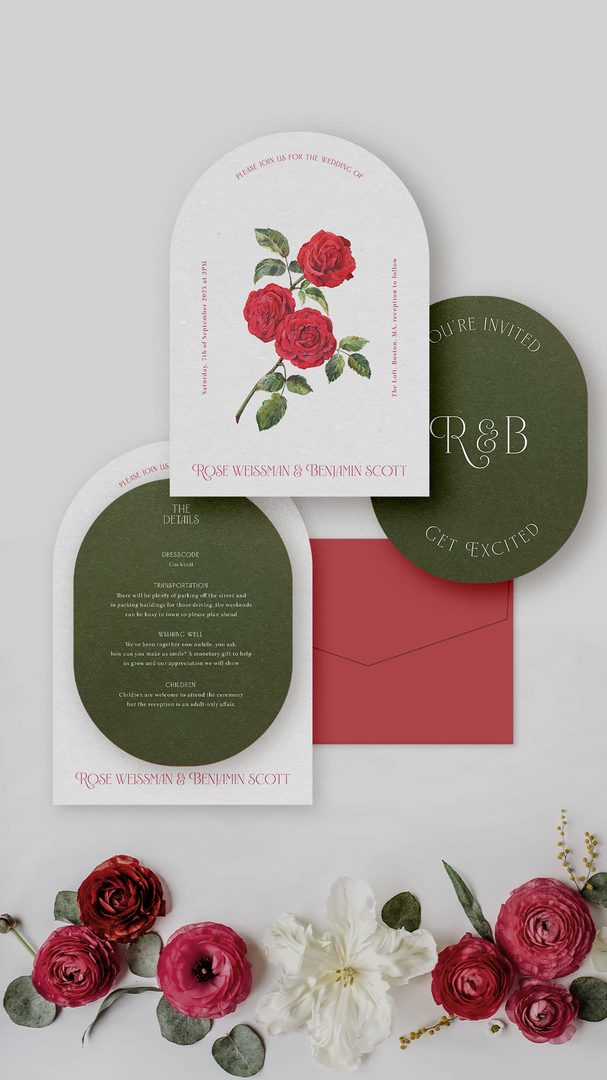

Customizing Your Template So It Does Not Look Generic
This is where most DIY invitations either succeed or give themselves away. The design decisions that make a Canva invitation look professionally made are not complex, but they are intentional.
Font pairing
Use two fonts and no more. The pairing that works for nearly any wedding style is a calligraphy or script face for the couple’s names or a single headline, and a clean well-spaced sans-serif for all the body text: date, time, venue, RSVP details. Avoid pairing two decorative scripts at similar weights; the competition between them makes both look busy. Canva’s Google Fonts include options that print well, such as Cormorant Garamond, Libre Baskerville, and Josefin Sans. If the template uses a script for the full body text, replace the venue and time details with a matching sans-serif and legibility at print size improves immediately.
Color and hierarchy
Replace the template’s palette with your actual wedding colors by entering your hex codes directly in the color picker, or use Brand Kit in Canva Pro to save them once and apply across every page. For hierarchy, size and weight do more work than color: your names or the main headline should be the largest element on the card, the date and venue should be clearly secondary, and RSVP and additional details should be smallest. A common mistake is using the same font size and weight for every line of text, which makes the invitation read like a list rather than a designed piece.
Adding a monogram or photo
Monograms work well as a centered graphic at the top of the invitation above the headline, or as a closing flourish at the bottom. If you are adding a photo as a full-bleed background, it needs to be high resolution: at least 1,500 x 2,100 pixels for a 5 x 7 in card at 300 DPI. A photo that looks sharp on your screen at 96 pixels per inch will print soft at 300 DPI if it lacks enough pixel data. Use the photo as a background overlay rather than a primary design element and make sure any text over it has enough contrast to be readable.
Spacing and layout
When you paste in your actual wording and it does not fit the template, resist the impulse to shrink the font size. Reduce line spacing first, trim the wording, or reposition elements to rebalance the composition. A well-spaced invitation with concise wording looks intentional. One where everything has been compressed to fit looks like the text was added after the design was finished.
Building a Consistent Suite: Invite, RSVP, and Details Card
A coordinated suite requires decisions made in the right order. Get the main invitation looking finished before you touch the RSVP card or the details card. Every subsequent piece should match the invitation, not the reverse.
Replicating the design across suite pieces
Duplicate the invitation page in Canva rather than starting from a blank canvas for each piece. Resize the duplicate to the correct dimensions for your RSVP card (typically 3.5 x 5 in or 4.25 x 5.5 in at bleed dimensions) and remove the elements that do not belong on that piece. Your background, fonts, and color choices are already in place and you are subtracting rather than rebuilding. For a details card with a different layout, carry the font choices and palette from the invitation into a new canvas at the correct bleed size and build the layout fresh from those anchored elements.
Consistent canvas sizing across the suite
Create every suite piece at its finished trim size plus 0.125 in (3mm) bleed on each side. A 5 x 7 in invitation becomes a 5.25 x 7.25 in canvas. A 3.5 x 5 in RSVP becomes a 3.75 x 5.25 in canvas. This keeps all pieces ready for the same print workflow without any resizing required at the printer.
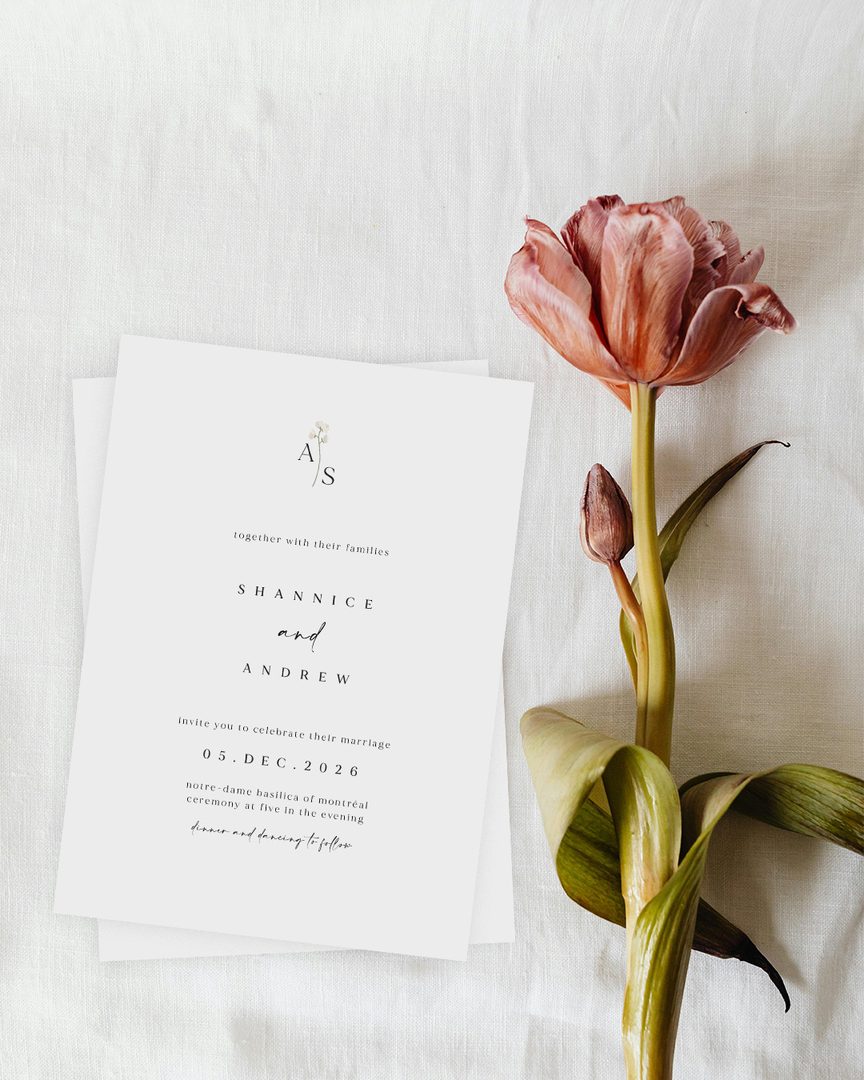
Canva’s Print Gotchas: What to Check Before You Export
Canva is excellent for design and reliable for most print jobs. There are a handful of technical points that consistently catch designers off guard when they move from screen to a physical card.
RGB vs. CMYK in Canva
Canva works in RGB internally. This is the color mode screens use, building color from red, green, and blue light. A commercial printing press uses CMYK, building color from cyan, magenta, yellow, and black inks. When you export as PDF Print, Canva converts to CMYK automatically. The issue is that the in-app preview you have been looking at through the entire design process is showing RGB values, not the CMYK equivalent. Colors that look vivid on screen can shift on conversion: deep navy, jewel-tone purple, and electric teal are the most common surprises. Warm tones, blush, cream, and neutral gray convert predictably. The practical fix is to check the proof at the CMYK output stage before the full run prints, not after.
Setting up bleed in Canva
Canva does not add bleed automatically when you create a canvas at your finished trim size. To set up bleed correctly:
- Create a custom canvas at the bleed size, not the finished size. For a 5 x 7 in invitation, set the canvas to 5.25 x 7.25 in (133 x 184mm).
- Go to File and turn on Show Print Bleed. Canva displays a dashed guide showing where the card will be trimmed.
- Extend any background color, photo, or edge artwork all the way to the outer canvas boundary.
- Keep names, dates, venue, and all RSVP details inside the inner dashed guide.
If you designed at the finished trim size and the background stops exactly at the canvas edge, the press has no bleed to work with. A slight variation in cutting position, which is within normal press tolerances, leaves a white sliver along one or more edges.
Exporting as PDF Print
Always export as PDF Print, never PNG or JPG. PNG and JPG are formats designed for screens; they strip color profiles and cannot carry CMYK settings your printer needs. Canva’s PDF Print export preserves your design at maximum quality, embeds fonts automatically, converts to CMYK, and gives you the option to include crop marks and bleed in the download dialog. Select PDF Print, set quality to maximum, and check crop marks and bleed if any design element runs to the card edge.
When the in-app color preview misleads
The most reliable way to verify color before a full print run is to review a digital proof rendered from the actual print file, not the Canva RGB canvas. When you use Paperlust’s Print My Own Design service, the print team checks your file and returns a digital proof within 1-2 business days. That proof shows you what your card will look like in print, not the RGB view you have been working with in Canva.
Canva Free vs. Pro for Wedding Invitations: A Print-Focused Comparison
| Feature | Canva Free | Canva Pro | Why it matters for print |
|---|---|---|---|
| PDF Print export | Yes | Yes | Both tiers produce a print-quality PDF; no advantage to Pro here |
| Custom canvas size | Yes | Yes | Essential for setting correct bleed dimensions; both tiers support it |
| Brand Kit (saved colors + fonts) | Limited (3 brand kits) | Yes, unlimited | Keeps your palette consistent across invite, RSVP, and details card without manual re-entry |
| Premium template access | Many free templates | Full library unlocked | Most print-worthy options are available on Free; Pro adds more upmarket and niche styles |
| Background remover | No | Yes | Useful for isolating engagement photos or monogram art to layer over colored backgrounds |
| Magic Resize | No | Yes | Resizes one design to different suite piece dimensions without starting over |
Bottom line: Canva Free is sufficient for a single invitation design exported as PDF Print. Canva Pro earns its cost if you are building a full matching suite and want Brand Kit to hold your palette and font pairing across every piece without re-entering them each time.
Pre-Export Checklist for a Print-Ready Canva File
Before you download your final PDF, run through this list:
| Check | What to verify |
|---|---|
| Canvas size | Set at bleed dimensions, not the finished trim size (for a 5 x 7 in card, canvas is 5.25 x 7.25 in) |
| Print bleed visible | Show Print Bleed is on and background or edge art extends to the outer canvas boundary |
| Safe zone clear | All text, names, and dates sit inside the inner dashed guide, at least 3mm from the trim line |
| Photo resolution | Any photos used are at least 1,500 x 2,100 px for a 5 x 7 in card; no screenshots or social media saves |
| Text legibility at print size | Venue, date, and RSVP details are readable when viewed at actual print scale, not just zoomed in on screen |
| Proofread | Names, date, venue spelling, RSVP deadline, and any website or phone number verified by a second reader |
| Export format | PDF Print selected, not PNG or JPG; quality at maximum; crop marks and bleed checked in the download dialog |
| Color flag | Any deep navy, jewel-tone purple, or vivid saturated color noted for careful review on the digital proof |
From Canva to Professional Print: Where Design Ends and Quality Begins
Designing in Canva is the creative part of the job. Once the file is exported, the quality of what your guests hold in their hands depends on the paper, the print method, and whether the file was set up correctly. This is where many DIY invitations that look great on screen fall short in the final product.
The difference between printing a Canva file at home and having it printed on 600gsm Wild Cotton letterpress stock is not just weight. The paper surface changes how ink sits. A letterpress impression adds tactile depth that no screen preview communicates. Digital print on linen stock reads completely differently from the same design on smooth matte. These decisions happen outside Canva and they matter as much as anything you did in the editor.
Paperlust’s Print My Own Design service is designed for exactly this handoff moment. Upload your completed Canva PDF, choose your paper stock and quantity, and the print team checks the file setup before anything goes to press. If there is a bleed issue, a color setting that will not convert cleanly, or a resolution problem, they flag it at the proof stage. You approve the proof before production begins. The service prints on the same stocks available across the full Paperlust wedding invitation range, including digital print on matte, linen, premium, kraft, and vellum; foil stamping on textured and Wild Cotton; and letterpress on 300gsm or 600gsm Wild Cotton.
For a complete walkthrough of every technical requirement your export needs to meet, see our companion guide, Getting Your Wedding Invitation Print-Ready: Bleed, Trim and File Setup, which covers bleed, safe zone, resolution, CMYK, font embedding, and PDF export from every major design tool. If you are approaching the full process from the beginning, our pillar guide How to Print Your Own Wedding Invitations walks from design decisions all the way through to delivery.
Frequently Asked Questions
What size should I create my canvas in Canva for a wedding invitation?
Set your canvas at the bleed size, not the finished trim size. For a standard 5 x 7 in portrait invitation, that means a canvas of 5.25 x 7.25 in (133 x 184mm). The extra 0.125 in (3mm) on each side is the bleed area the printer trims away during cutting. If you design at the finished trim size and the background stops exactly at the canvas edge, any slight variation in the cutter position will leave a white sliver along one or more edges.
Can I use Canva for wedding invitations that will be professionally printed?
Yes. Canva exports a print-ready PDF when you choose PDF Print as the download format. Create your canvas at bleed dimensions, turn on Show Print Bleed so you can see the trim guide while designing, and check crop marks and bleed in the download dialog. Canva converts to CMYK on PDF Print export, which is the color mode commercial printers use. Check your digital proof before approving the full run, especially for any deep or saturated colors.
Why do my invitation colors look different in print than on screen?
The most common reason is the RGB-to-CMYK conversion. Canva works in RGB, the color mode screens use, and converts to CMYK on PDF Print export. Some colors in RGB, particularly vivid blues, electric purples, and neon tones, fall outside the range that CMYK inks can reproduce and shift to the closest printable match. Warm neutrals, blush, cream, and neutral gray convert predictably. Check any jewel tone or deep saturated color carefully on the digital proof before approving production.
How do I add bleed to an invitation in Canva?
Create your canvas at bleed dimensions rather than the finished trim size. For a 5 x 7 in invitation, use a canvas of 5.25 x 7.25 in. Go to File and turn on Show Print Bleed so the inner dashed trim guide is visible. Extend any background color, photo, or edge artwork to the outer canvas boundary. Keep names, dates, and venue details inside the inner guide. On export, select PDF Print and check crop marks and bleed in the download dialog.
Does Canva Free allow PDF Print export for professional printing?
Yes. PDF Print export is available on both Canva Free and Canva Pro at the same file quality. The print-relevant advantages of Pro are Brand Kit (saving hex colors and font choices to reuse across suite pieces) and Magic Resize (adapting one design to different dimensions without rebuilding). Both are useful for a multi-piece suite but are not required for a single invitation design.
What is the best way to make a Canva wedding invitation look professional?
Use two fonts only: a script or editorial serif for the headline and a clean sans-serif for all body text. Replace the template palette with your actual wedding hex codes. Make sure your most important text, the couple’s names and the date, is meaningfully larger than the supporting details. Leave breathing room around each element rather than filling every corner. Finally, export as PDF Print and send to a printer that offers a paper stock matching your wedding style. The same Canva design printed on 600gsm Wild Cotton reads dramatically more formal and luxurious than the same file on standard home-printer paper.
Can I design the full wedding stationery suite in Canva?
Yes. Start with the main invitation and finalize it before building any other piece. Then duplicate that page in Canva and resize the duplicate to the correct bleed dimensions for your RSVP card (typically 3.75 x 5.25 in for a 3.5 x 5 in finished card). Remove invitation-specific elements and add the RSVP details. Repeat for a details card. Duplicating from the finished invitation carries over your fonts, palette, and background art so every piece stays consistent without manual recreation.
What paper stocks can I choose when uploading my Canva file to Paperlust?
Paperlust’s Print My Own Design service prints on the same stock range available across the full invitation collection. Options include digital print on matte, linen, premium, kraft, and vellum; foil stamping on textured and Wild Cotton; and letterpress on 300gsm or 600gsm Wild Cotton. Choose your stock when you submit the file. The print team will let you know if any setup adjustments are needed for that specific print method.
Does Paperlust review my Canva export before it goes to press?
Yes. The Print My Own Design service includes a professional file check before production begins. The print team reviews your PDF for bleed, resolution, color mode, and font handling, then returns a digital proof within 1-2 business days. If there is a setup issue, they flag it at the proof stage so any correction is made before a single card prints. You approve the proof before production starts.
Is a custom sample available before I commit to a full print run?
A $15 custom sample is available for most print methods, including digital print and foil stamping. Note that the custom sample is not available for letterpress orders. A $5 sample pack covering multiple designs and print methods, and a $20 full swatch kit with all available paper stocks, are also available if you want to feel the paper before committing to a specific stock.
Love your design? Let us print it.
Upload your artwork and our print team quotes you within 24 hours, letterpress, foil, or digital, on luxe paper with premium envelopes included free.